Photo credit: Marvin Gapultos, The Adobo Road Cookbook
In this Chicken Adobo Recipe, you’ll learn:
- Classic Filipino Chicken Adobo recipe from The Adobo Road Cookbook
- Simple 6-ingredient recipe
- Prep time is only 5 minutes
What is Adobo?
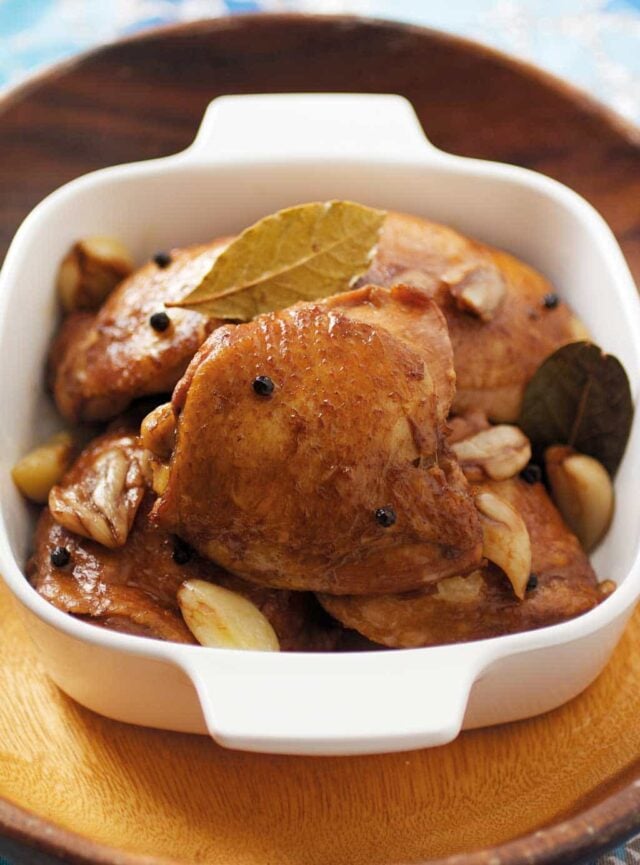
In Filipino cooking, “Adobo” is a method of cooking that uses a braising liquid made of soy sauce, garlic, black pepper, bay leaves, salt and vinegar. After this base of ingredients, there are so many different variations. You can “adobo” many types of ingredients, from seafood, meats, vegetables and even fruit – though you’ll most often see chicken and pork.
 My favorite of all adobos is Chicken Adobo. Not only is the recipe so simple (6 ingredients!), but using skin-on chicken thighs makes this recipe very forgiving. If you ask Marvin Gapultos, the author of The Adobo Road Cookbook, he’ll tell you pork belly is his favorite.
I’ve known Marvin for about 8 years now. He was one of my very first foodie friends I met online when I first started Steamy Kitchen. Our love of Asian cooking and blogging fueled our friendship. The blog, Burnt Lumpia, gave birth to an award-winning food truck, called The Manila Machine in Los Angeles (it has since shut down.)
 “This is the Chicken Adobo I grew up with – everything is thrown into a pot and simmered, the sauce is boiled and reduced, done. It is adobo in its simplest, most basic, and perhaps best form. But don’t confuse basic with bland. As the sauce for this dish finishes and boils, the bubbling helps to emulsify the liquid with the chicken fat in the pan, creating a simple yet flavorful glaze. And even though the chicken isn’t browned or seared, it still achieves a beautiful brown sheen from the luscious sauce.” –Marvin Gapultos
Thank you for supporting Steamy Kitchen!

Chicken Adobo Recipe
Ingredients
- 1/4 cup low-sodium soy sauce
- 1/2 cup cider vinegar or distilled white
- 6-8 cloves garlic smashed with side of a knife and peeled
- 1 teaspoon whole black peppercorns *
- 2 bay leaves
- 6 skin-on bone-in chicken thighs
Instructions
- In a large, nonreactive saute pan, whisk together the soy sauce, vinegar, garlic, black peppercorns and bay leaves. Nestle in the chicken thighs, skin side down, into the pan. Bring the liquid to a boil over high heat, and then cover and simmer over low heat for 15 minutes. Turn the chicken over, and then cover and simmer for another 10 minutes.
- Uncover then pan, and then increase the heat to high and return the sauce to a boil. While occassionally turning and basting the chicken, continue boiling the sauce, uncovered, until it is reduced by half and thickens slightly, about 5 minutes. Serve with steamed white rice.