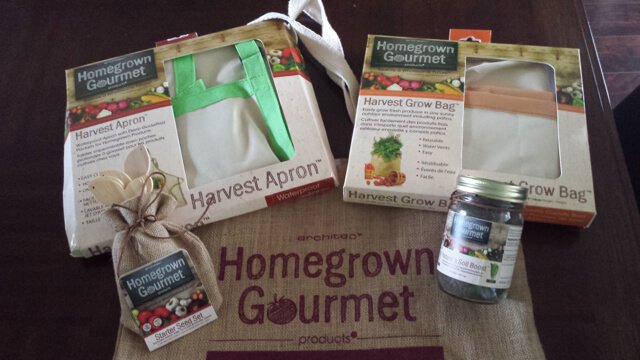
We’re getting excited! Our primary growing season here in Florida is nearly upon us. We are hard at work prepping the raised beds, earthboxes, and updating the aquaponics system. We’ll be sharing what we learned from phase 1 of our aquaponics in an upcoming post as well as introduce you to phase 2.
In the mean time, we wanted to share our fun “Potatoes In A Barrel” project. It’s simple enough that you can do it at home as well. Of course we have incorporated an aquaponics twist to our project just to experiment a little.
4 Steps Simple!
Step 1: Select and prepare your barrel.
We chose a 55 gallon food grade barrel.
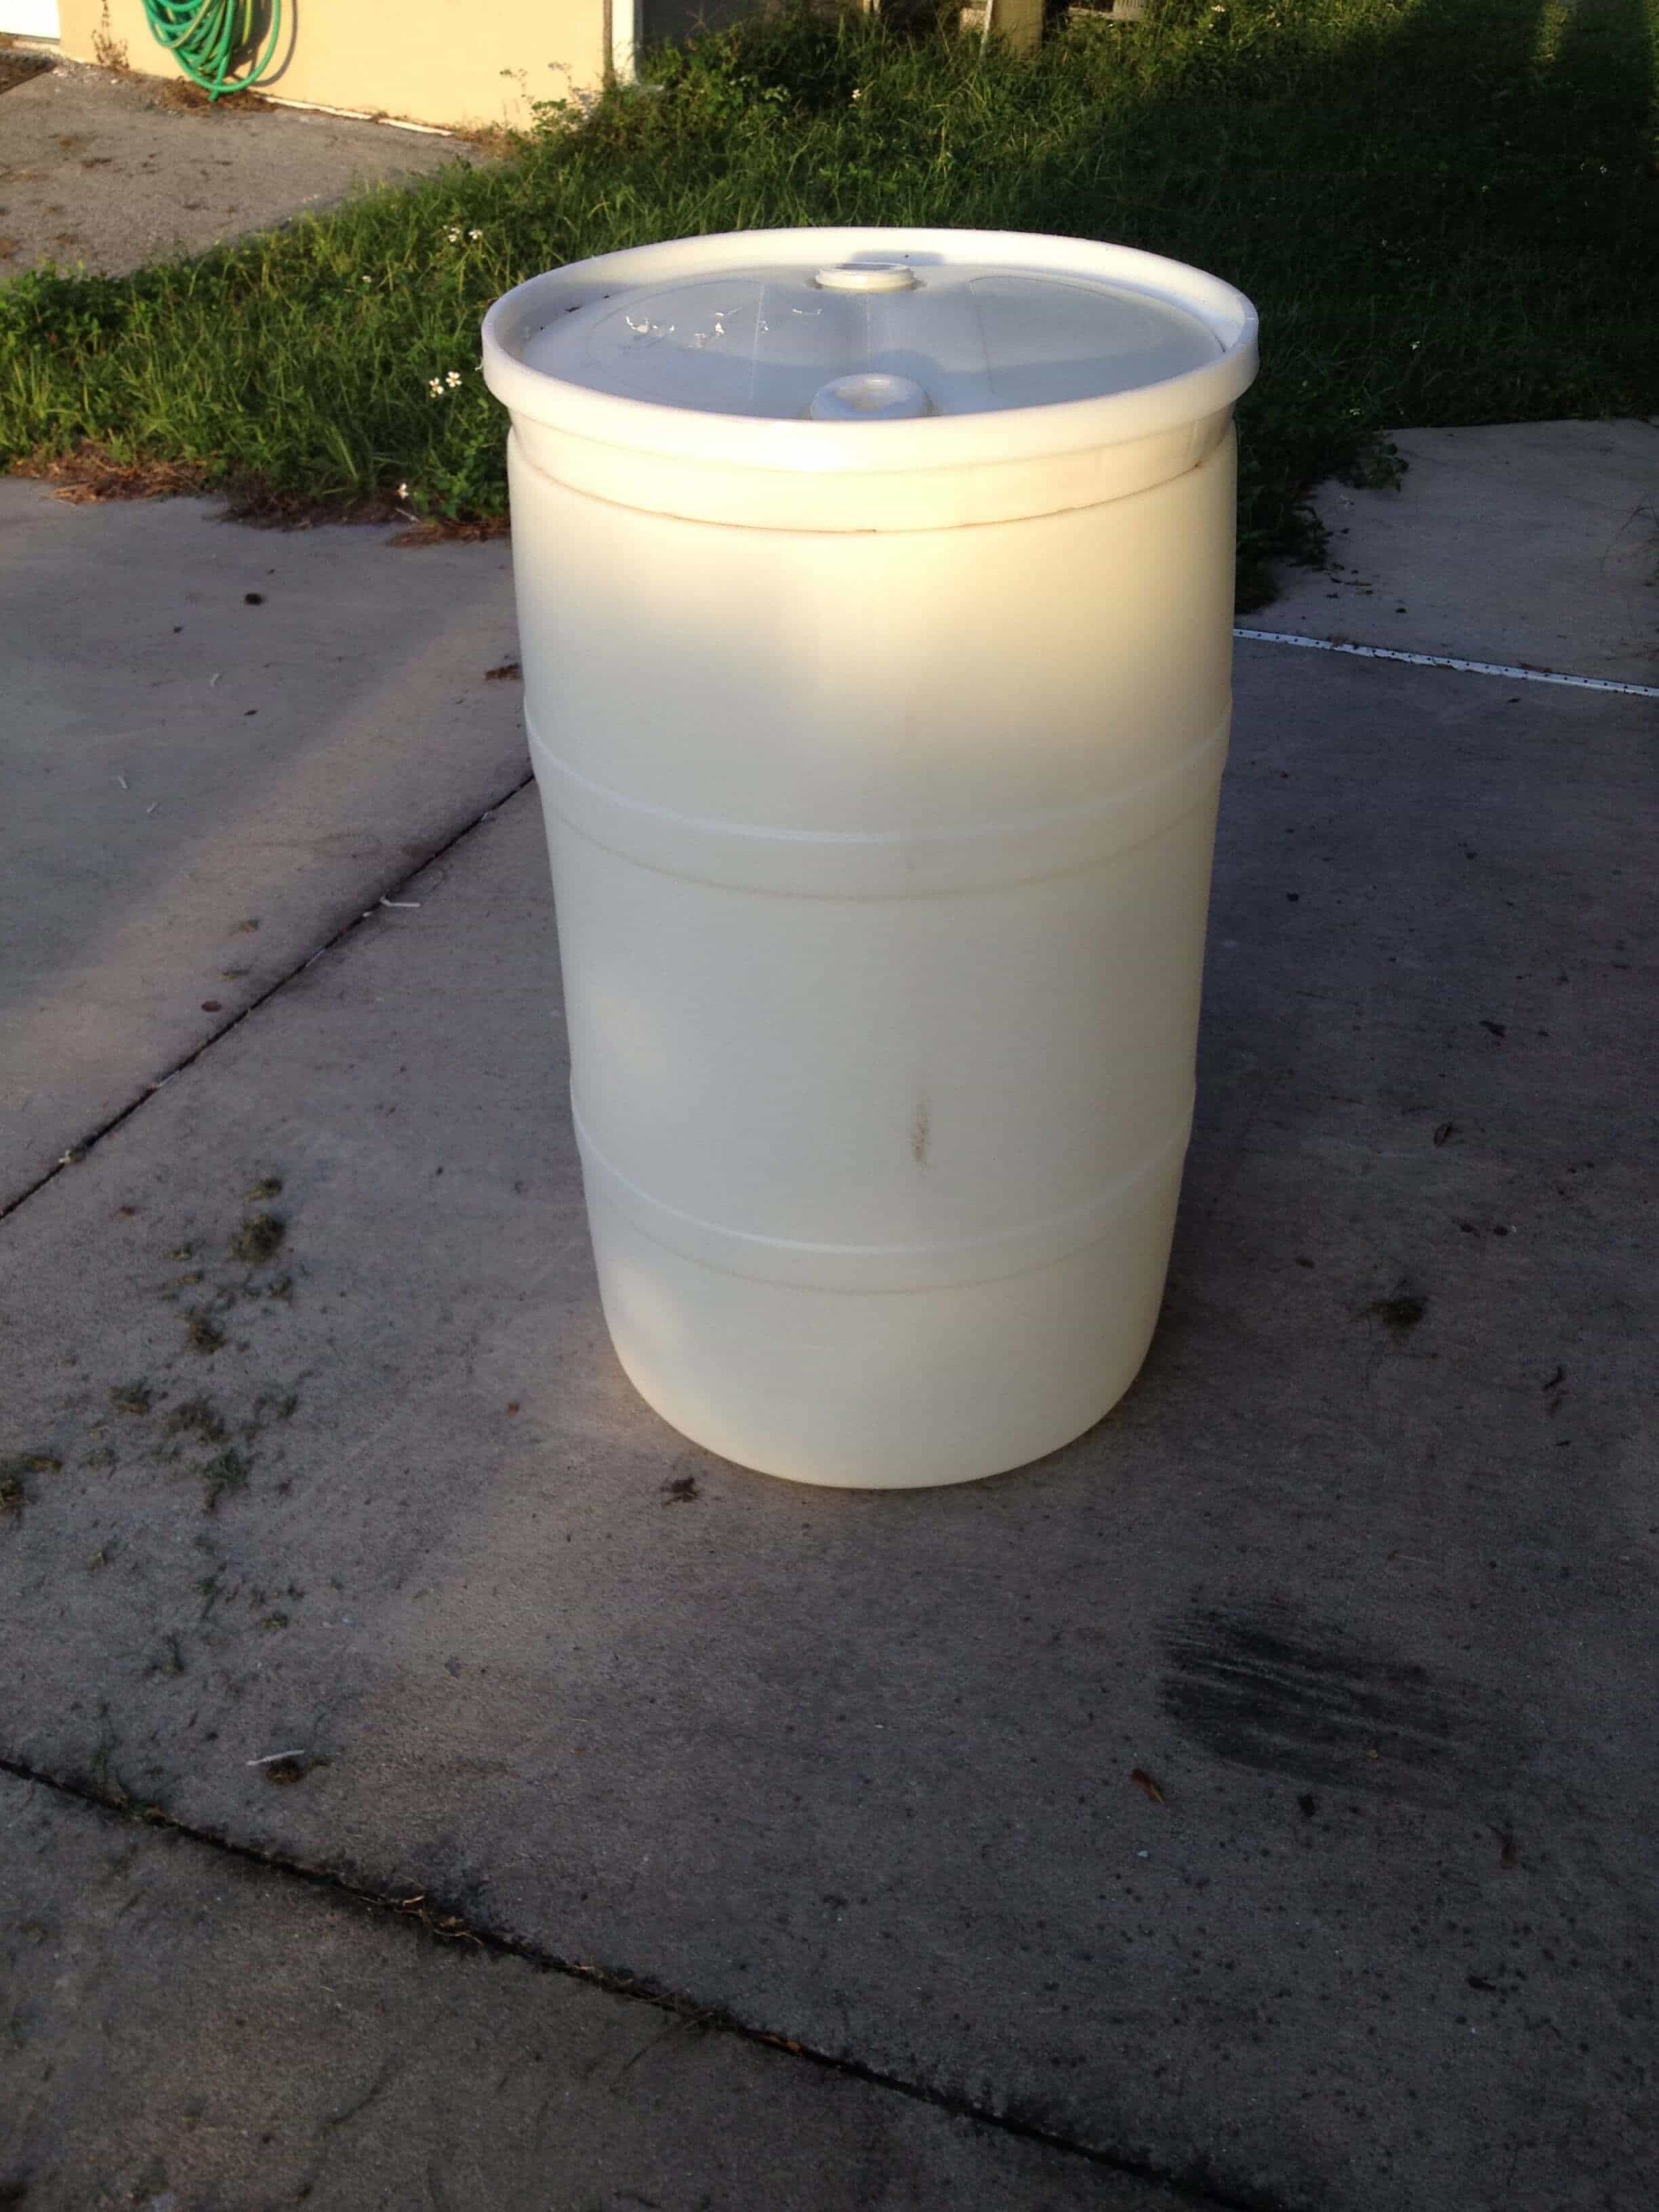
55 Gallon Drum
Cut the drum in half to create two planters. Although you could just remove the top of the barrel to create one larger planter.The trade off would be a longer growing process with a lot more potatoes in the end.
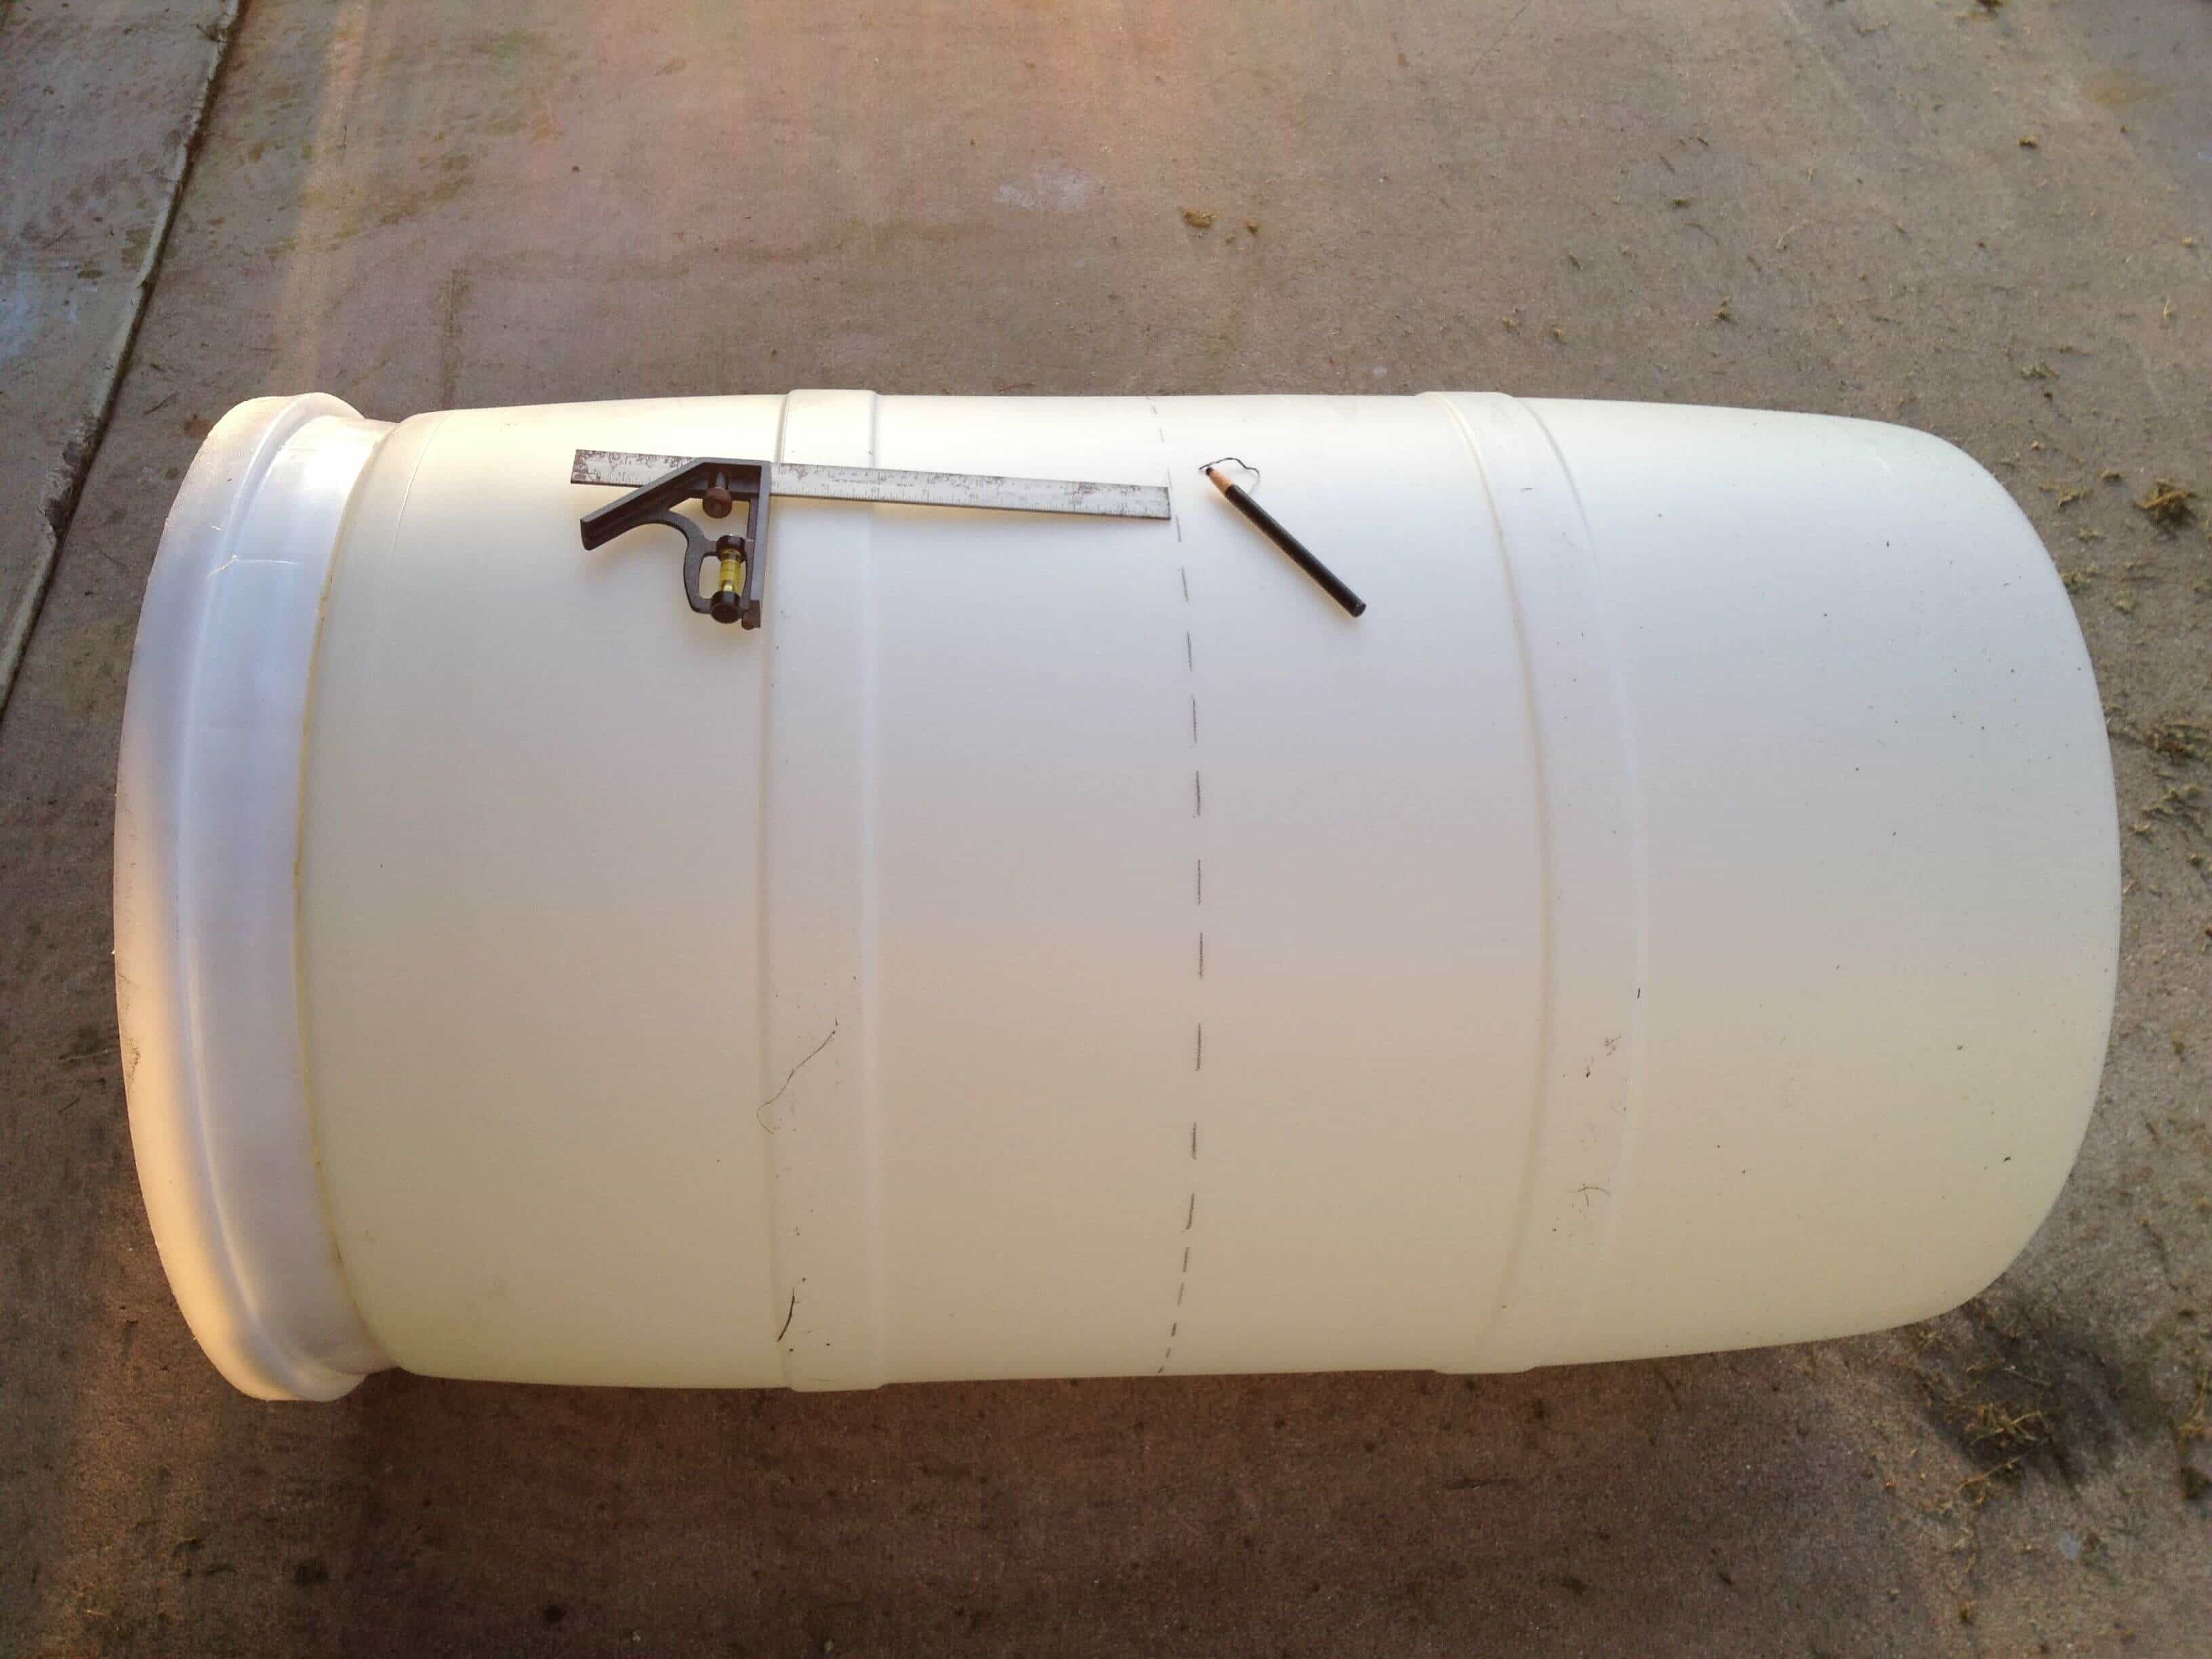
Marking the center of the barrel.
Cut barrel.
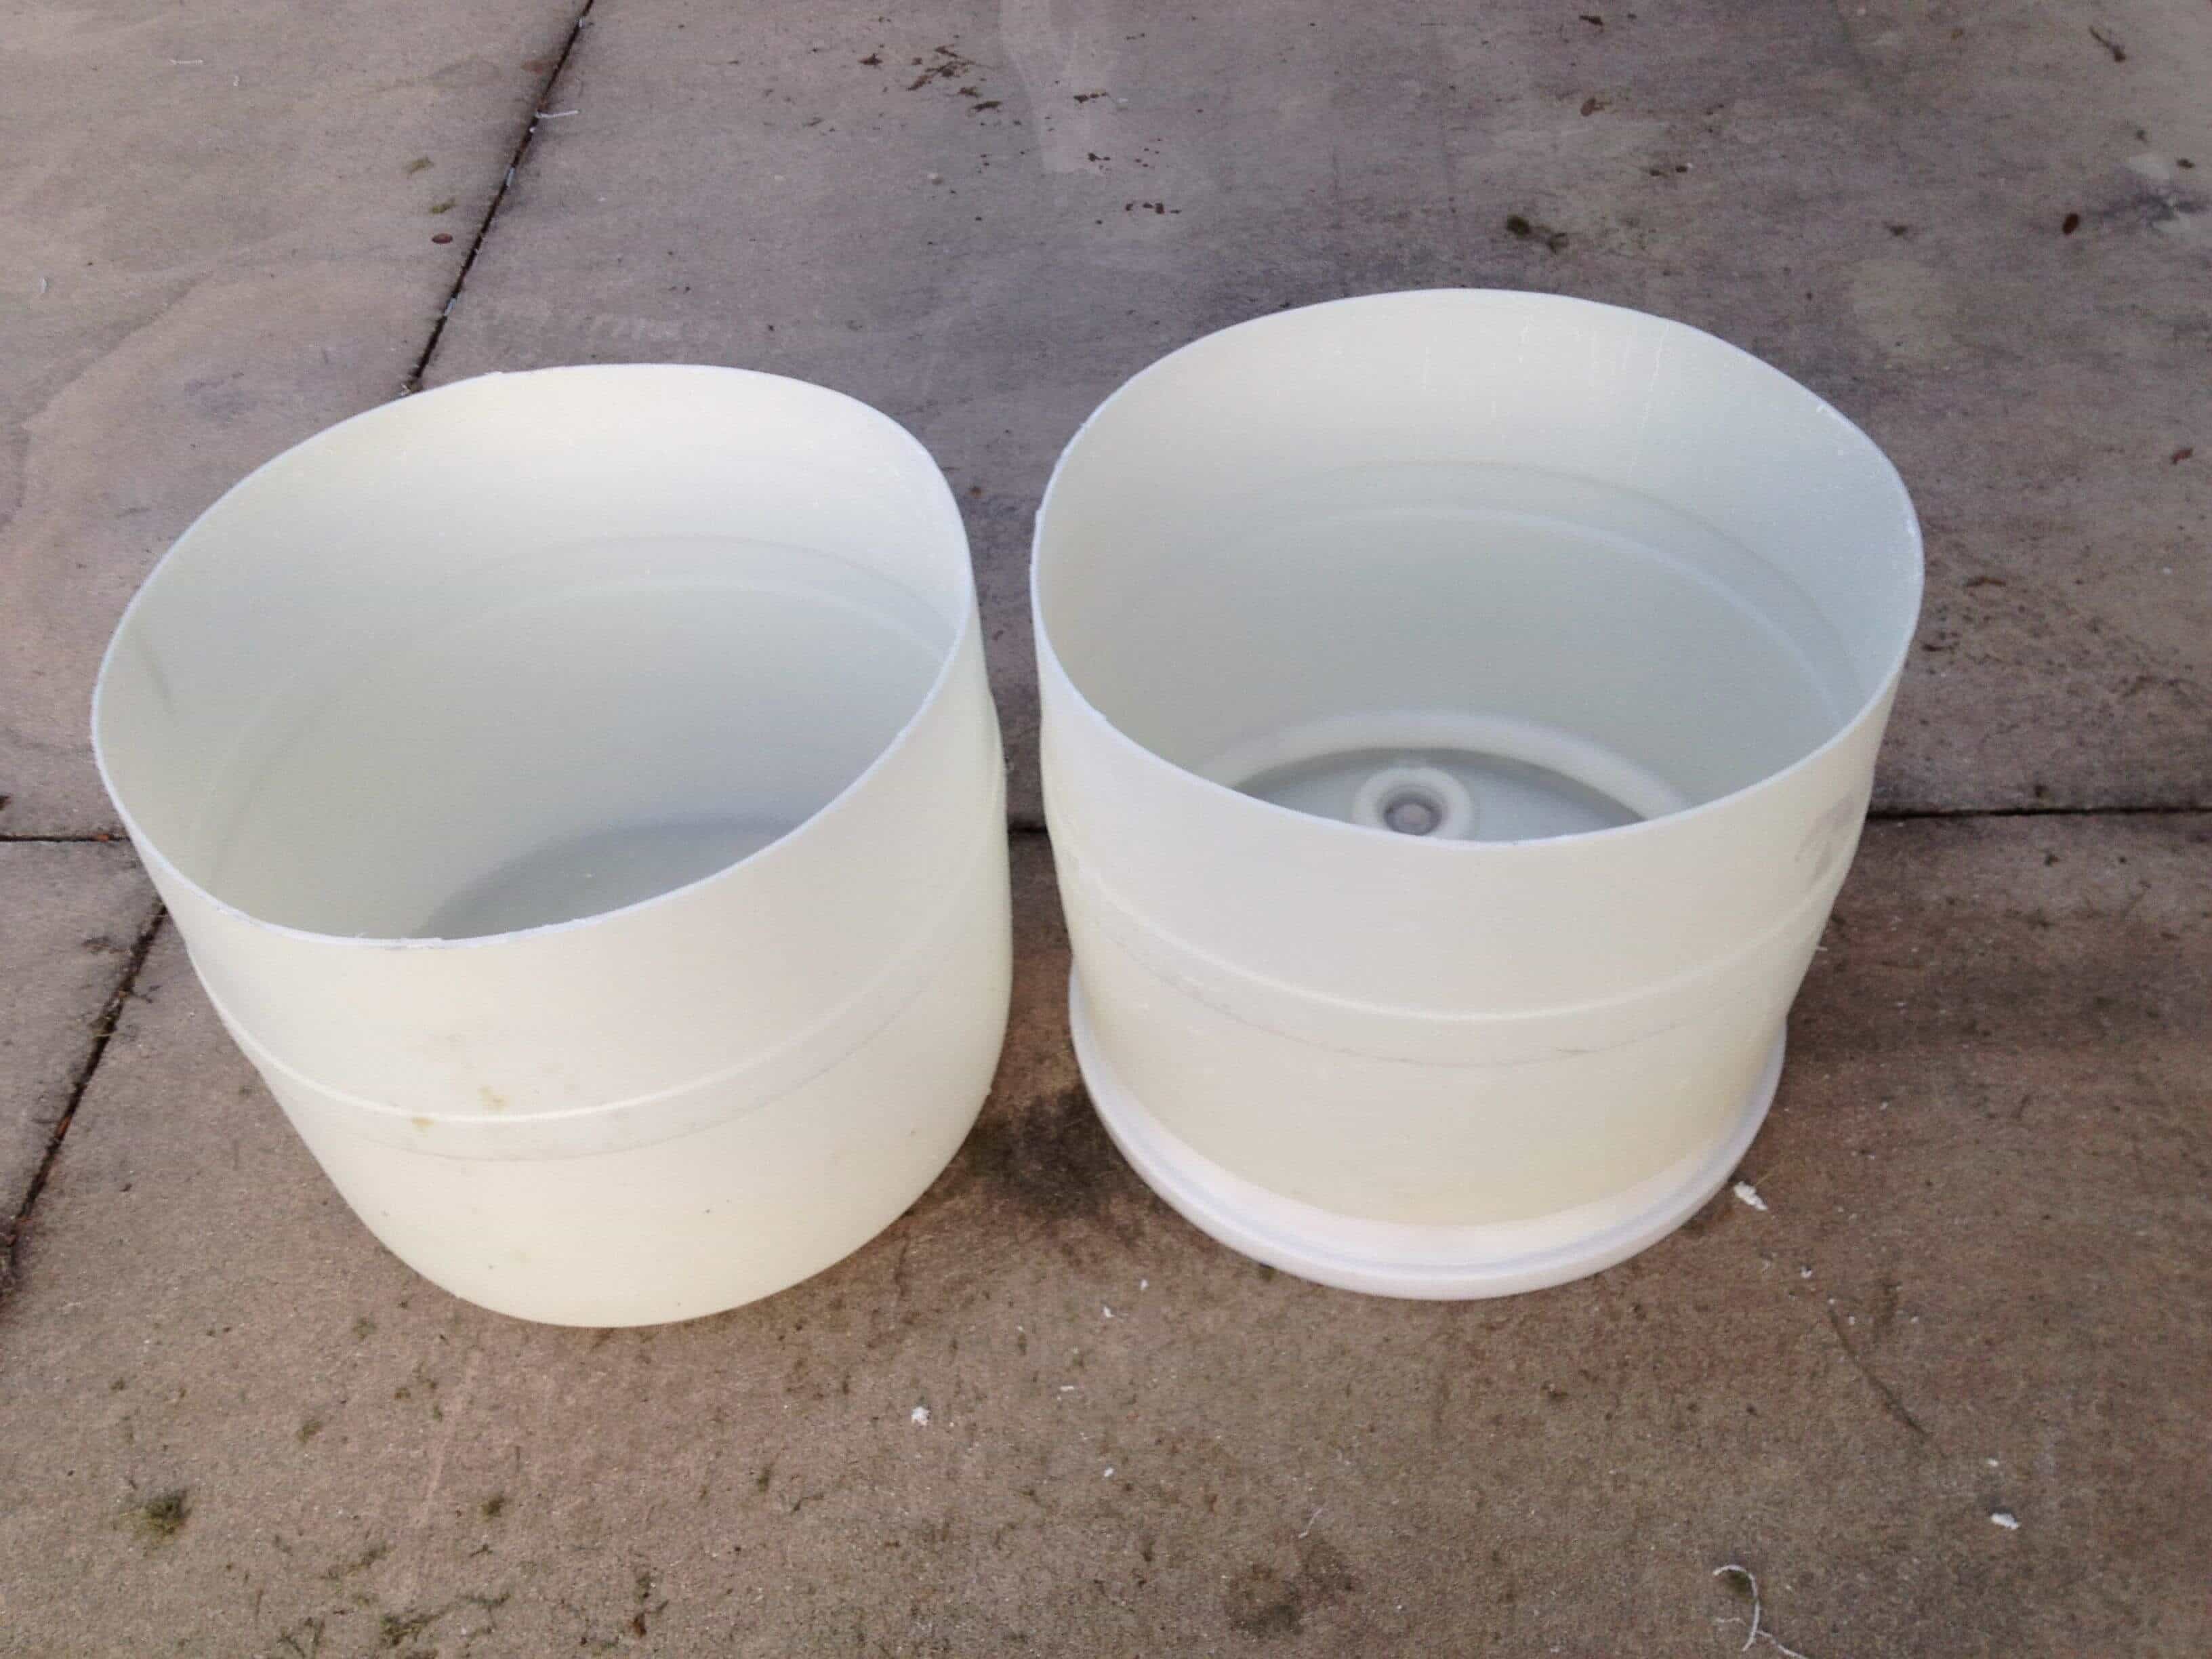
Drill plenty of drainage holes in the bottom. Potatoes like moist soil, not soggy.

Drilled drainage holes.
Step 2: Plant your potatoes.
Fill the bottom of your planter with approximately 6 inches of soil. I would suggest a good potting soil with something to keep the soil loose and help with water control. Some people suggest a peat moss-like soil amendment. In our case we wanted to try growing things without soil, so we are using a mix of perlite and vermiculite. We will provide nutrients for the plants via water from the aquaponics system.
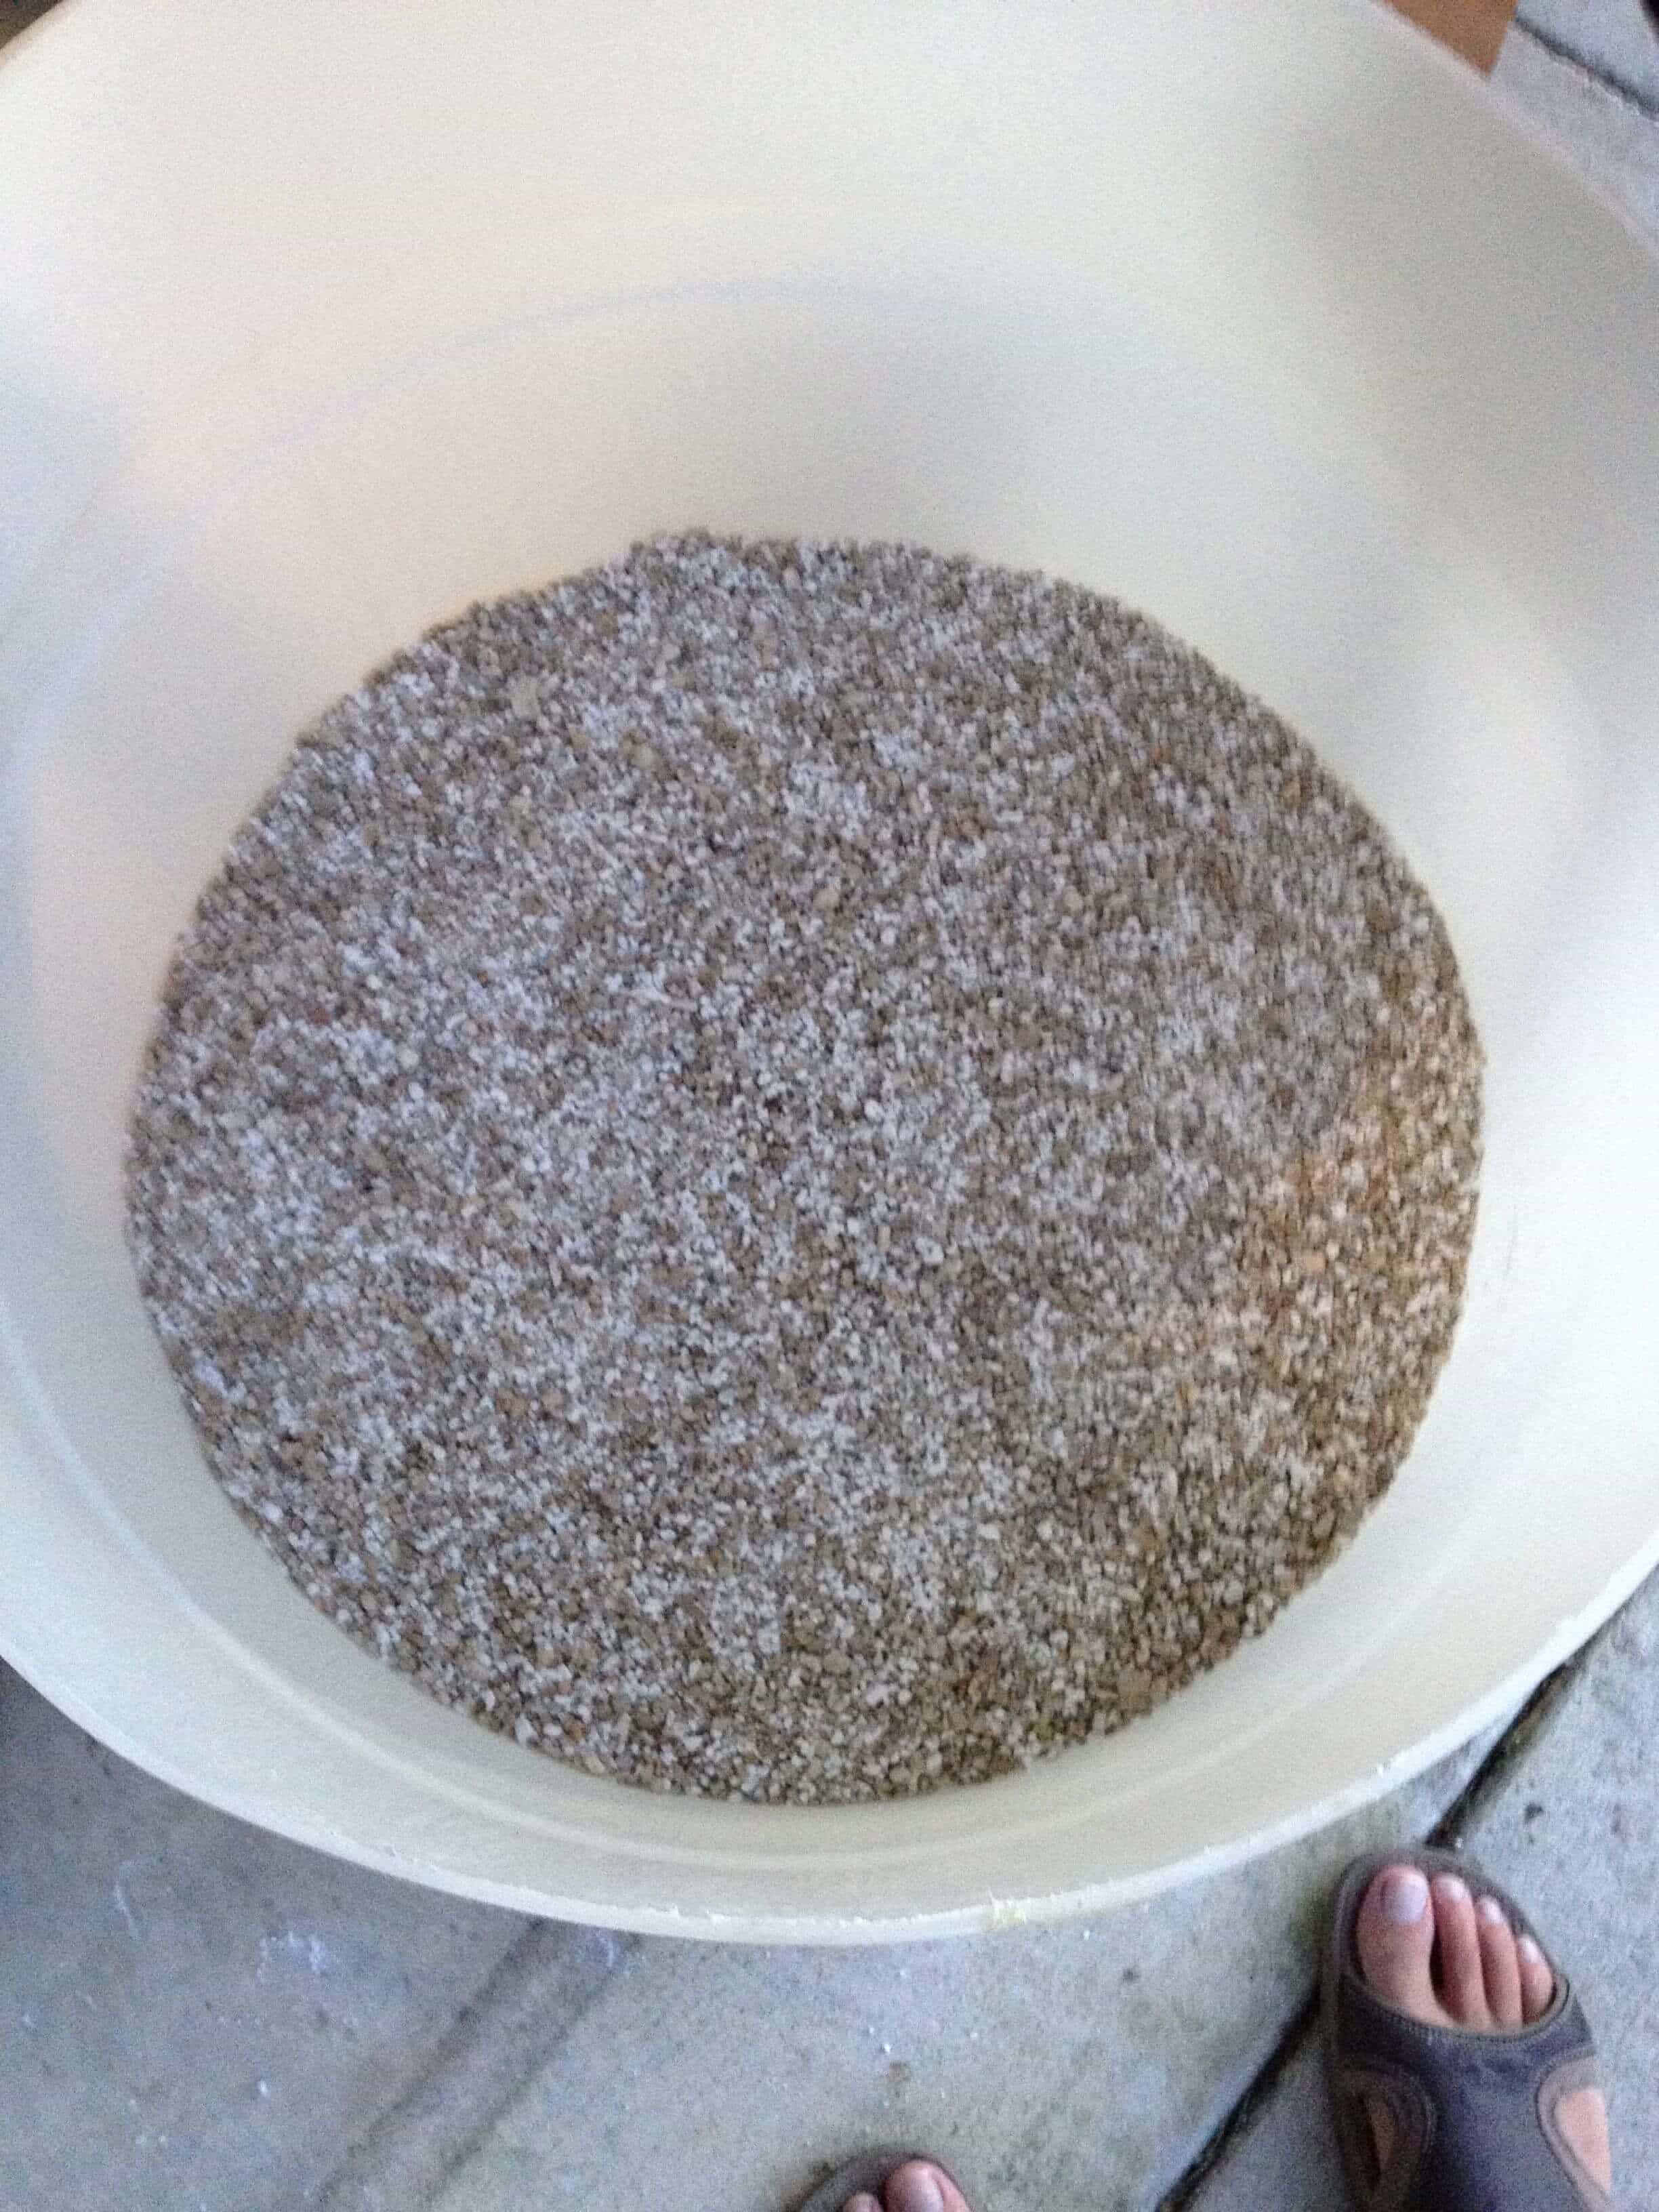
Added 6″ of potting mixture.
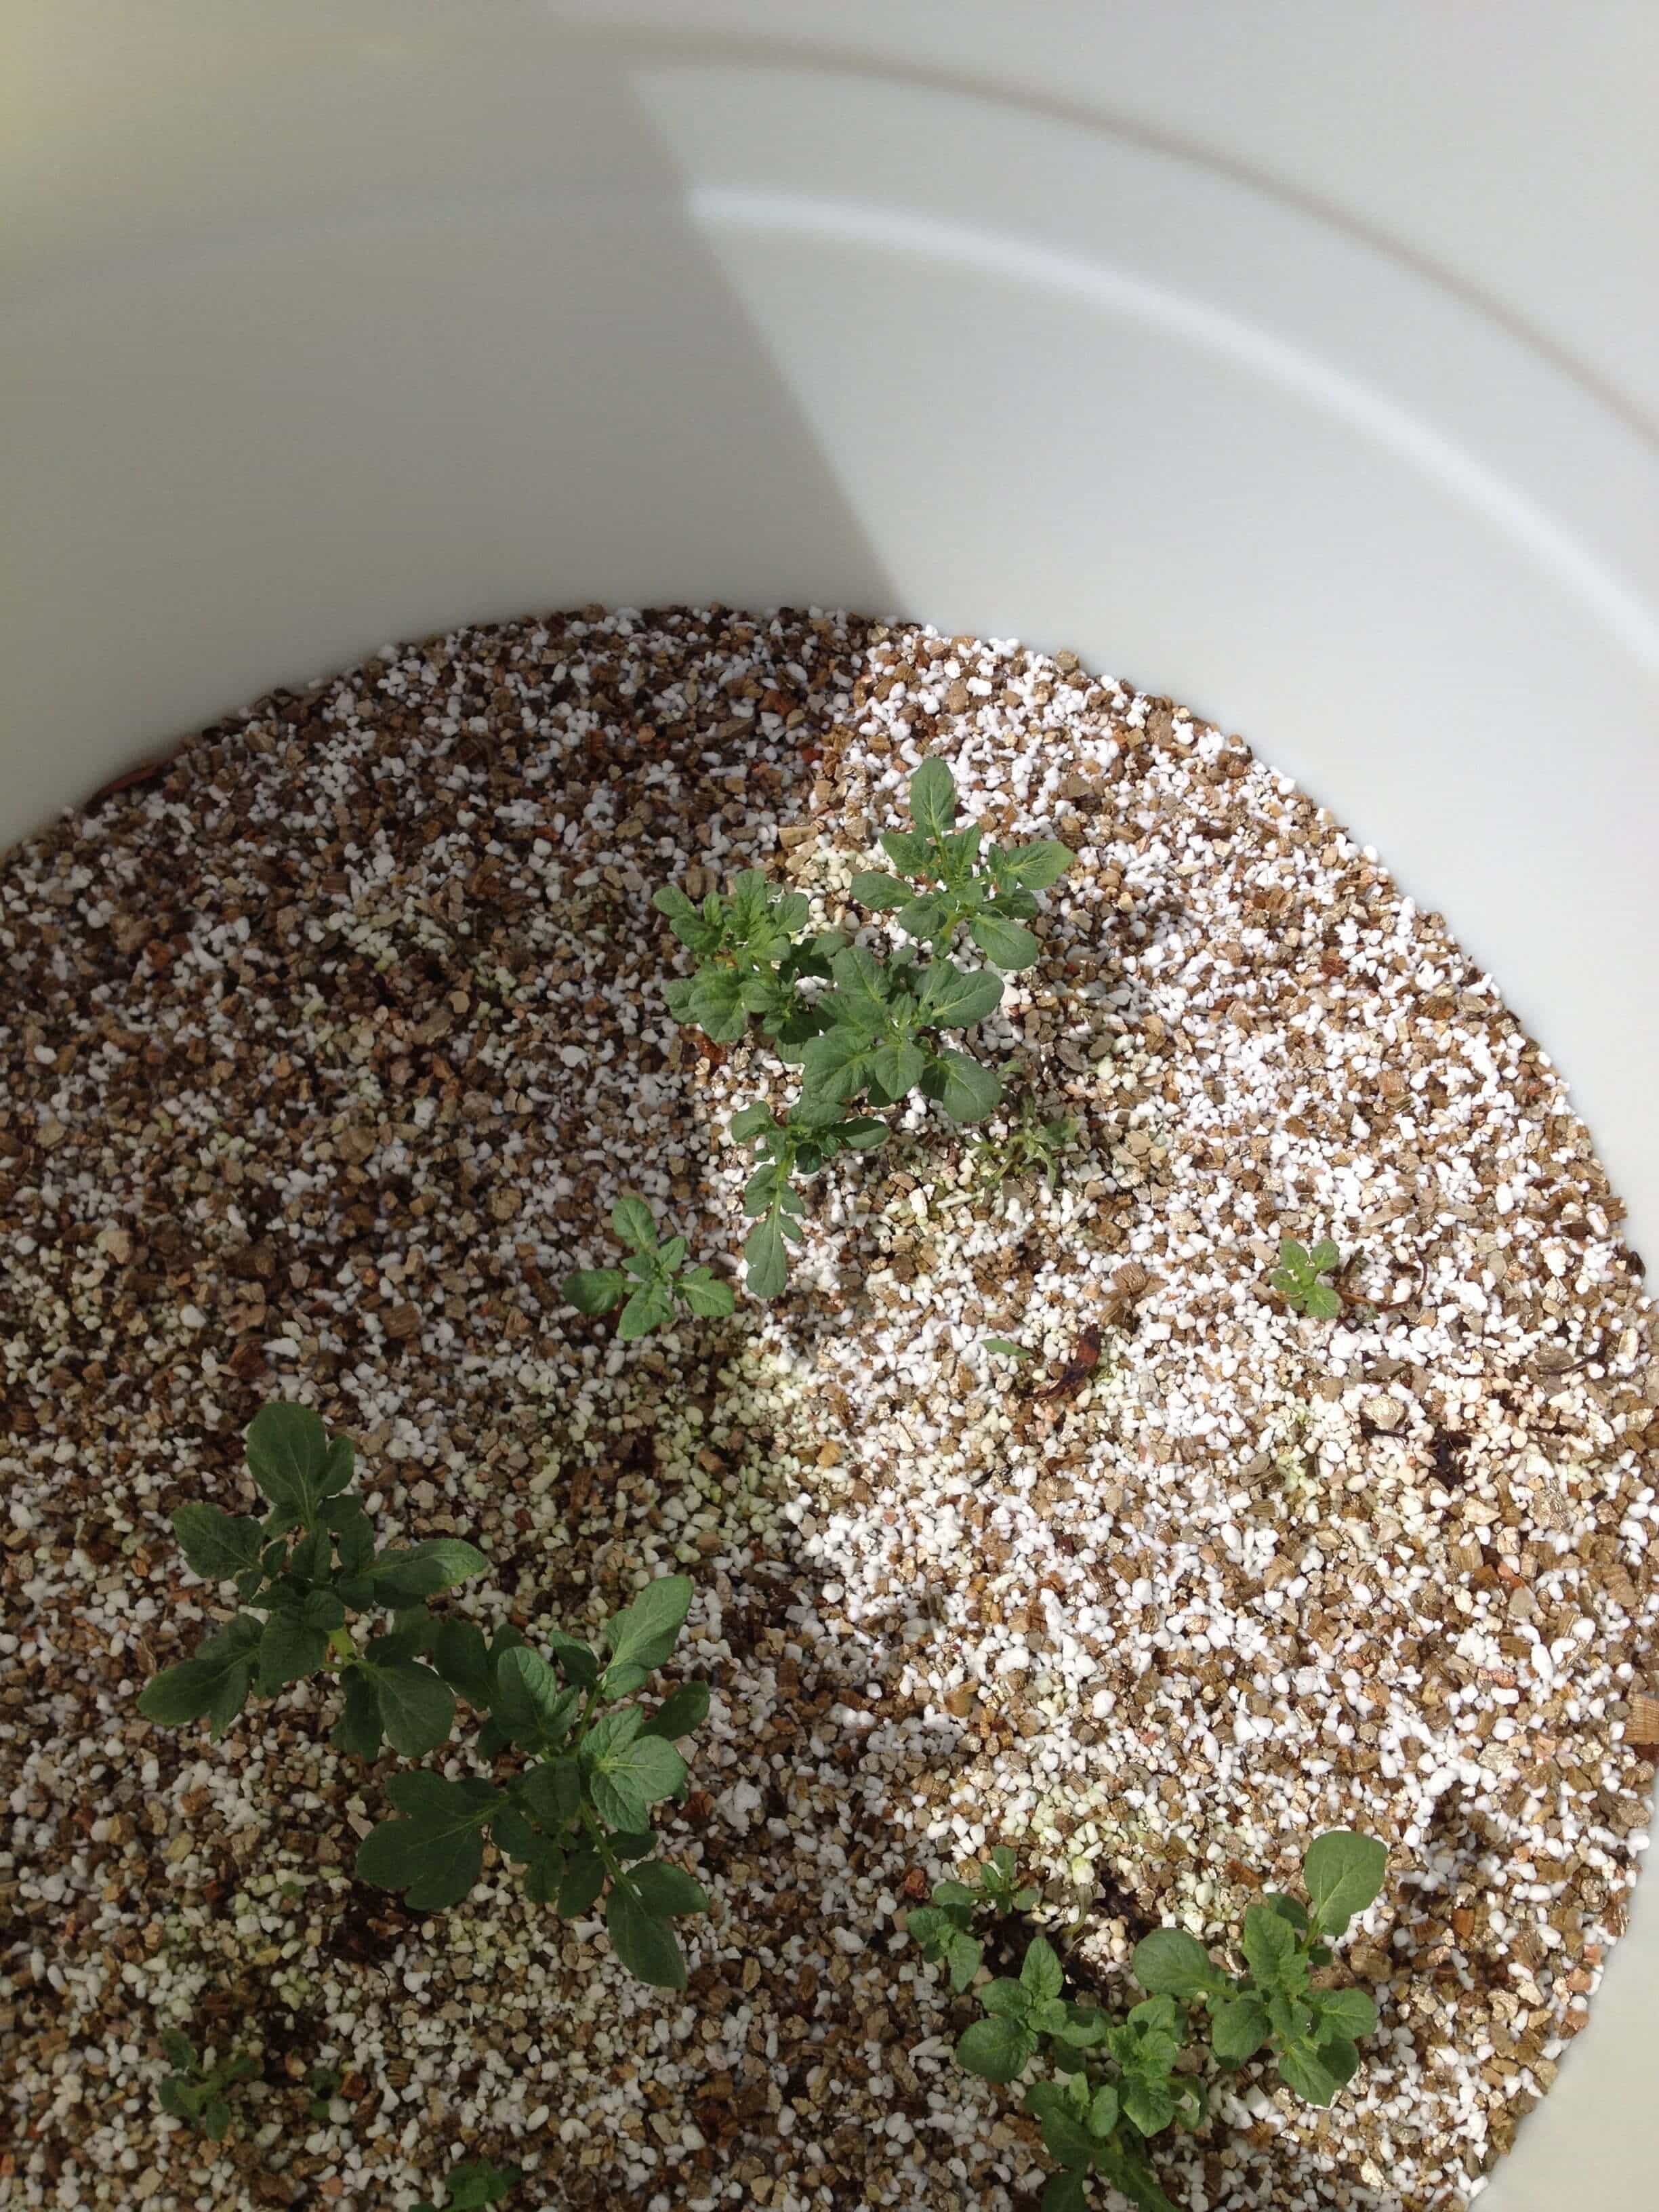
Next plant 3-4 seed potatoes just under the surface of your potting mix. You can obtain seed potatoes from either a nursery, buy them online or start your own. I would recommend staying away from grocery store potatoes as they are sprayed with a chemical to reduce sprouting. To sprout your potatoes before planting, put them in an open top paper bag, and place the bag in a cool light room. Ensure the bag is not in direct sunlight. When planting your newly sprouted potatoes you can cut them into 2 inch slices to increase the number of plants. Plant the side with the most sprouts facing up. In our experiment we used German Butterball Potatoes and cuttings from a friend’s sweet potatoe plants.

Planting sprouted potatoes.
Water your plants daily to keep the soil moist but not soggy.
Step 3: Adding more soil.
When your plants are between 6 to 8 inches tall, it’s time to add a layer of your potting mix. You will want to add about 4 inches of new mix to cover approximately half to three quarters of the exposed stems and foliage. Moisten the mix. As the plants keep growing add more layers of soil till your potting mixture is nearly to the top.
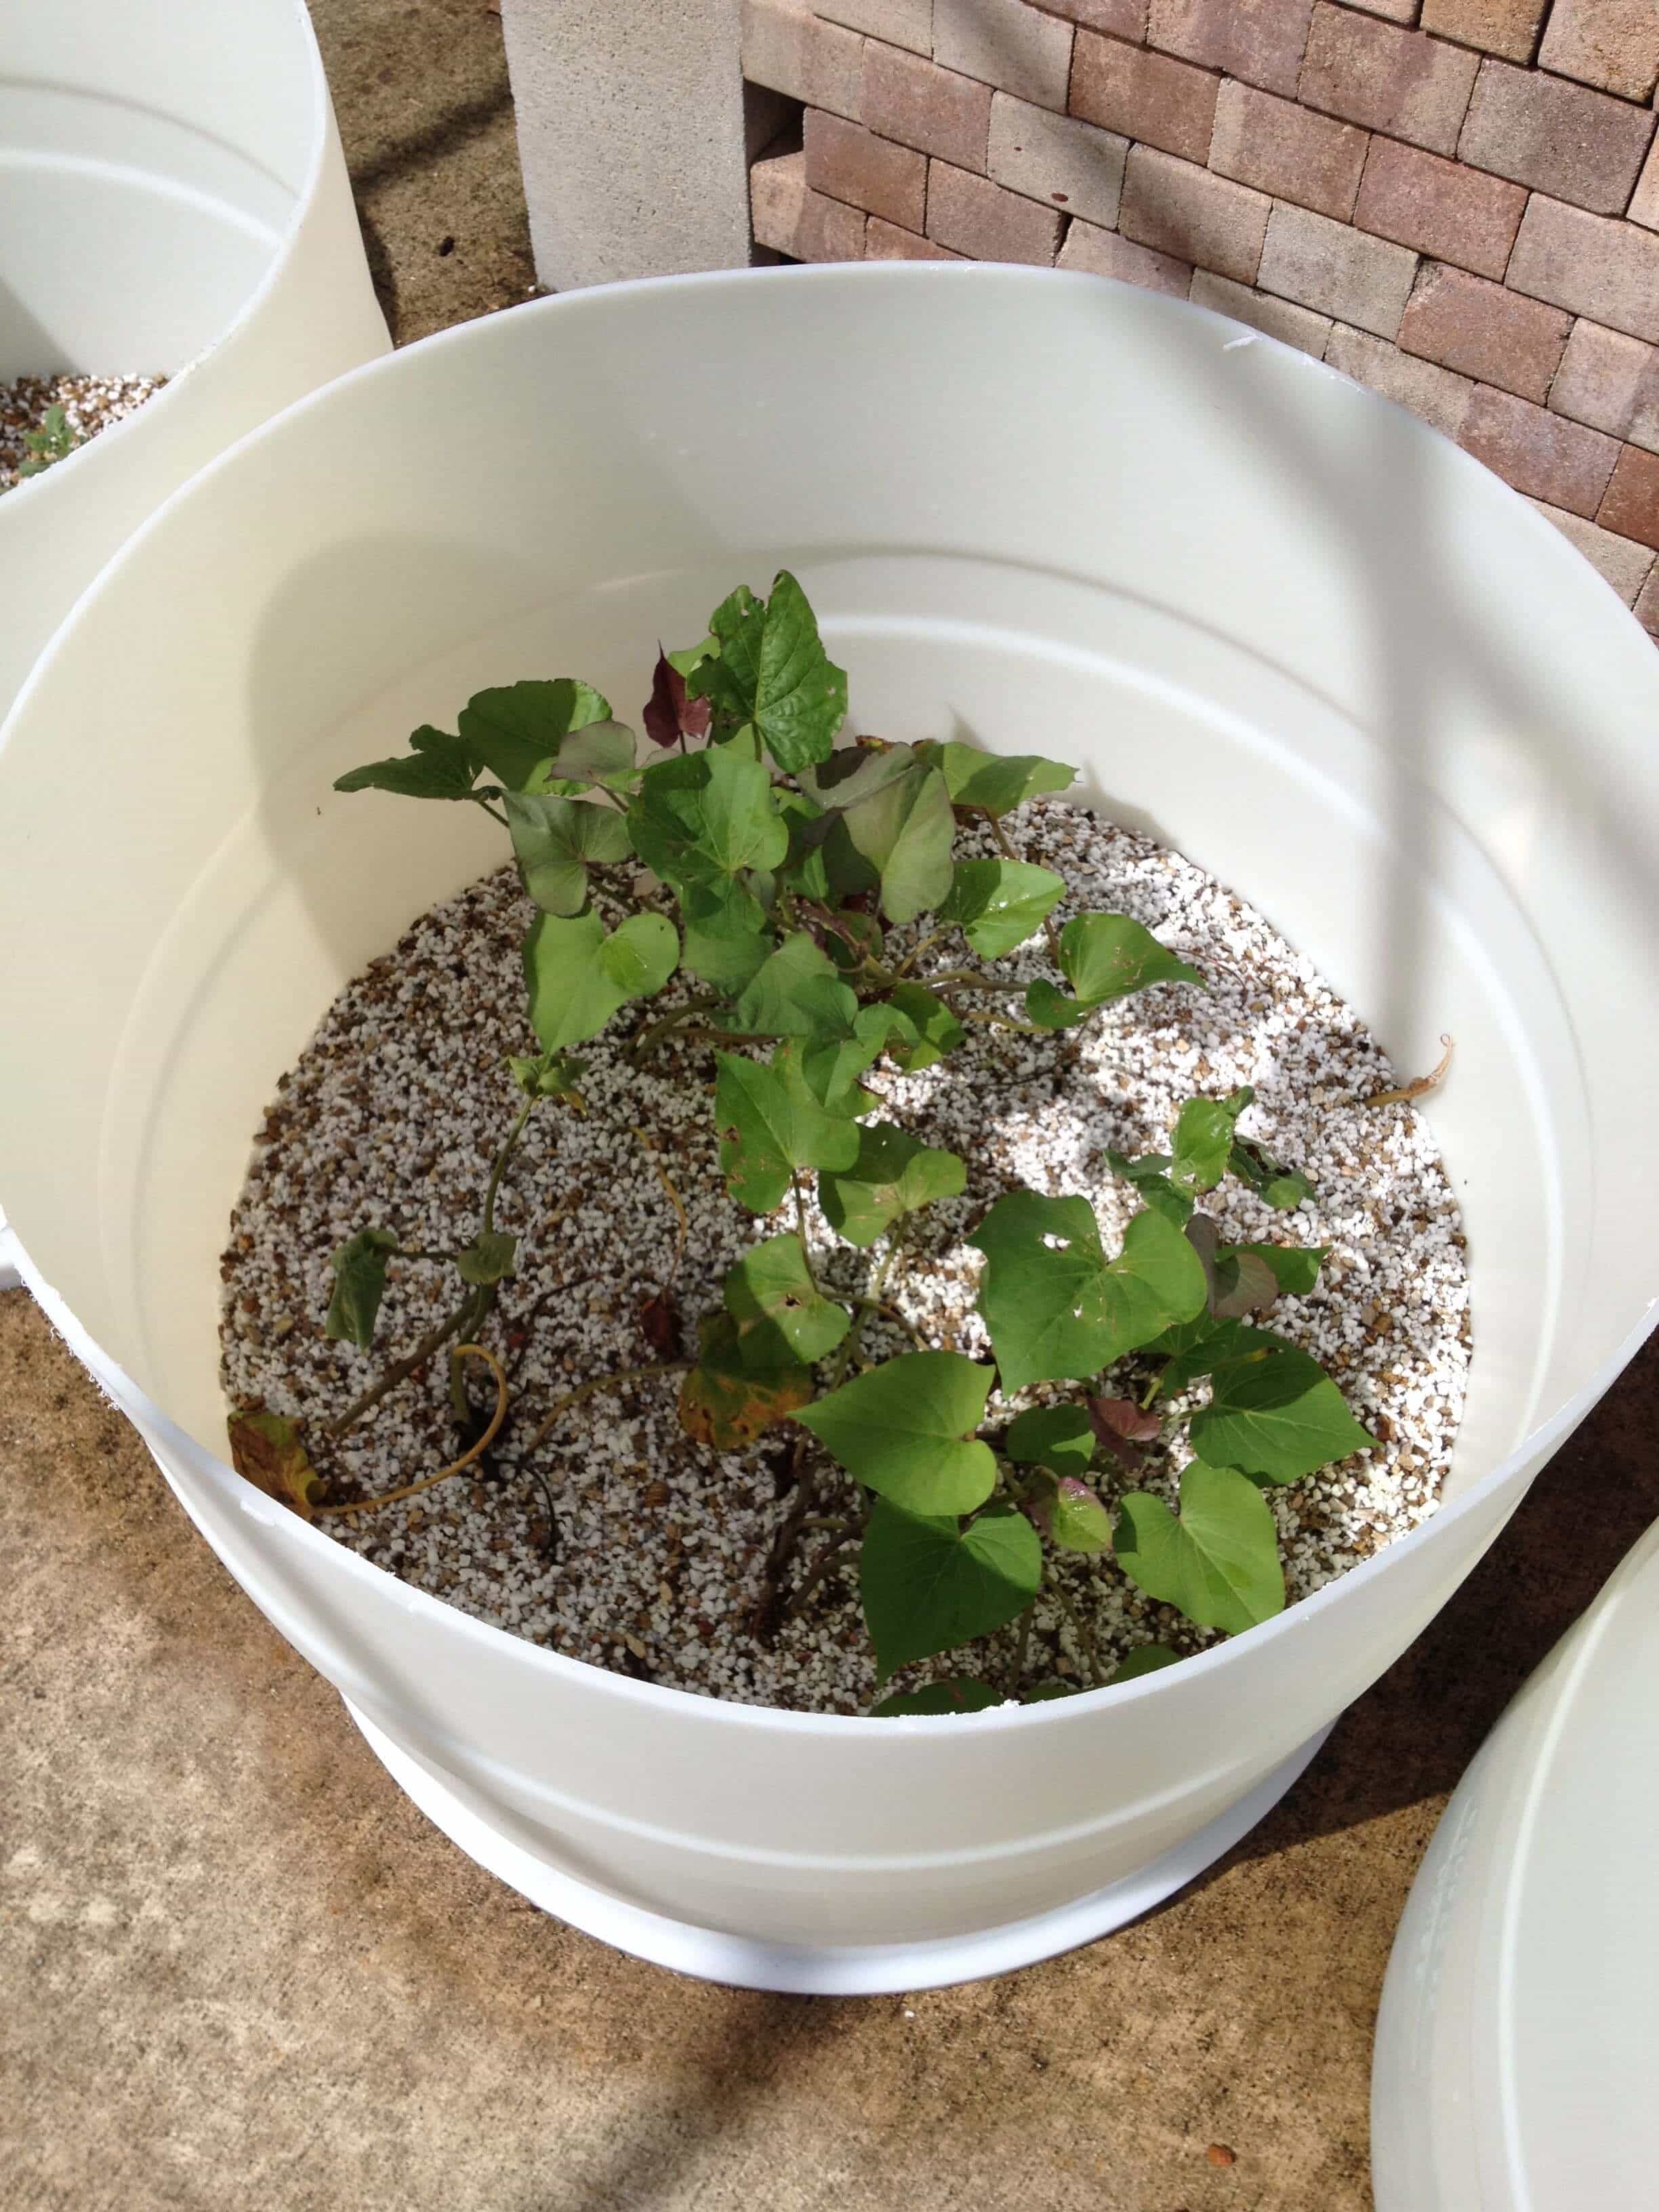
Growing Sweet Potatoes almost ready for more potting mix.
Step 4: Harvest Time!
After approximately 10-12 weeks of growing or your plants flower and leaves start to yellow, it’s harvest time. Dig carefully down through the top layer of potting mix to confirm your potatoes are ready. If they are dump the whole planter onto a tarp or spread out plastic.Harvest your potatoes and put 3 to 4 in and open paper bag to sprout your next crop. Remember to save your soil for reuse.
We are trying both a normal potting soil mix as well as the perlite/vermiculite mix to compare the results. We are looking to contrast the volume of potatoes put out as well as the easy of harvesting and recapturing growing media.

Potatoes in traditional potting soil.
Potatoes in Perlite / Vermiculite mix.
And as a fun add on, we decided to try carrots as well. The only thing we did different was to fill the planter nearly full. We will not be adding any potting mixture to this container. All of the containers we are using are being watered by the high nutrient water from the aquaponics system.

Tiny baby carrots.
We’ll keep you posted as this experiment progresses.