Garlic addicts, rejoice! This recipe teaches you how to pan-fry garlic to golden-brown, crispy perfection. Use it as a topping for Buddha bowls, salads, pastas, tacos, and sandwiches!

Fried garlic doesn’t mean burned garlic. It actually means “more delicious than before”–to describe all the dishes you add this to!
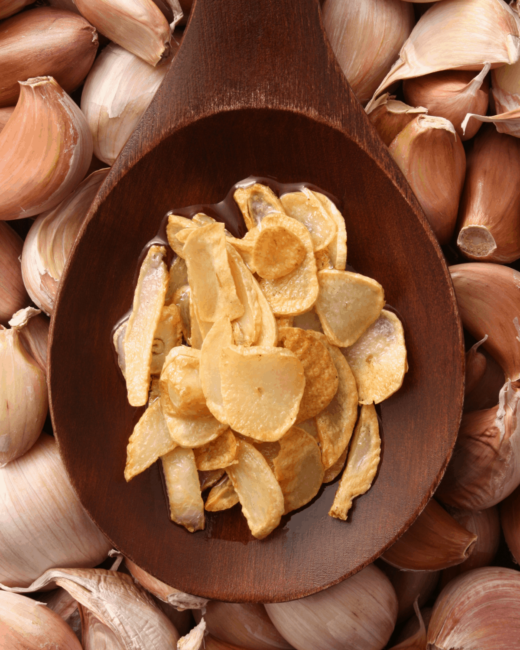
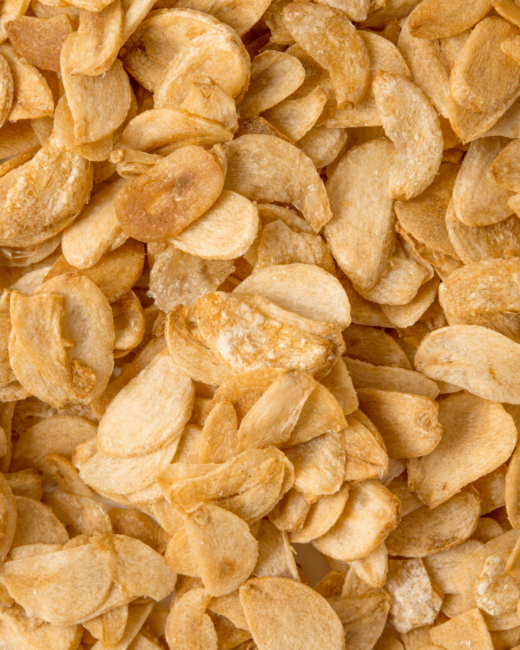
Crispy, nutty, and just rich enough is what we’re going for when frying garlic to use as a topping.
You need only 2 ingredients for this: garlic (the more cloves, the merrier) and your cooking oil of choice. I’d recommend using up as many cloves as you can so you can have garlic chips for days! Just make sure to slice them thinly and evenly so they all fry at the same rate.
Oh, and don’t forget to celebrate the second best thing about frying garlic: the garlic oil you’re left with! Store it as you like and use it as you would normally, but for the dishes that really deserve such a flavorful, garlic-infused oil.
How much oil?
There’s no hard-and-fast proportion of garlic to oil–just make sure to use enough to immerse all the slices of garlic; about 1/3- to 1/2 cup of oil per head of garlic should do.
Steps for Easy, Crispy Fried Garlic:
The key to frying garlic chips is having all your implements ready, as this recipe moves quite quickly. All that means is…
1. Having a colander/sieve/strainer ready to dump the garlic after frying and strain out the oil. Set it over a bowl to catch the oil.
2. Lining a plate with a paper towel to place the dry garlic on at the end.
Optional first step:
You may want to quickly blanch the garlic slices to remove excess sugars that might cause uneven browning during the frying process. Simply bring the garlic to a boil and drain all the water out using a strainer.
Blanched or not, if you’ve got sliced garlic in front of you, it’s time to fry!:
- Swirl the oil into a cold pan and add the garlic in an even layer, shaking the pan to get them nice and snug. Let the garlic sizzle gently over medium-low heat, stirring occasionally, until it’s evenly golden and starting to crisp/dry up.
- Take the pan off the heat before the garlic’s quite golden brown. Transfer garlic into your prepared strainer, shake with some salt, then pour it out onto the paper towel. Let cool completely before bedazzling your Buddha bowl!
Awesome recipes for fried garlic lovers
- Pineapple Chicken Teriyaki Buddha Bowl Recipe
- Creamy Miso Chicken Pasta
- Shrimp Pad Thai Salad
- Rice Noodle Buddha Bowl with Vietnamese Dressing Recipe

Crispy Fried Garlic Recipe
Ingredients
- 1/3 cup cooking oil or as needed
- 8 cloves garlic sliced thinly
- Salt to taste
Instructions
- Before cooking, prepare a clean, dry fine-mesh strainer or sieve over a bowl (to catch the oil). Line a plate with a paper towel.
- Pour oil into a cold pan. Add garlic and heat pan over medium- to medium-low heat. Shake to disperse the garlic and cook over medium-low heat until garlic starts to crisp and reaches a light golden color throughout, 2 to 3 minutes.
- Pour garlic out into the strainer over the bowl. Sprinkle with salt and shake to remove excess oil into the bowl. Pour dry garlic out onto the paper towel-lined plate and let cool completely for best crisp.
- Optional pre-step: bring garlic to a boil in a pot of water. Add garlic slices to a pot of water, just enough to cover. Bring to a boil and immediately remove from heat. Strain garlic, then proceed with the recipe. This helps remove extra sugars from the garlic to ensure even browning while it fries.