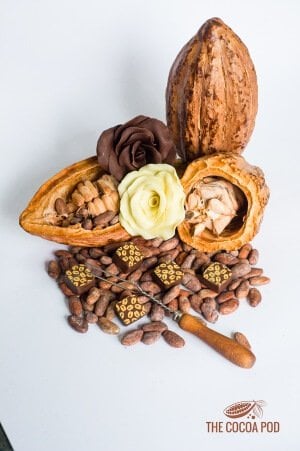
 Our friends at The Cocoa Pod is giving away a $75 gift certificate to their shop! You can buy raw cocoa beans and beautiful, decorative pods.
We just roasted a batch of cocoa beans in the toaster oven and enjoyed nibbling the roasted nibs with our trail mix. While dark chocolate has health benefits, cocoa nibs are even better, with higher levels of antioxidants.
Take a look at The Cocoa Pod’s offerings – and if you’re interested in hosting your own chocolate tasting party, read on! The $75 giveaway is at end of post. ~Jaden

How To Host A Chocolate Tasting Party
By Jeffrey Stern, The Cocoa Pod Shop
What could be better than getting together with a group of friends to eat some chocolate? A chocolate event should be a full sensory experience, involving not only taste, but sight, smell, touch and hearing. Holding a chocolate tasting at your home or office can be a fun way to spend an afternoon or evening, and in this post we’re going to show you how to do it. You can have a great time enjoying chocolate with friends and learning something new about chocolate!
Grab Some Chocolate!
Before anything, you need to get your self some chocolate! But what should you choose and how should you organize it? We’re here to help you with that.
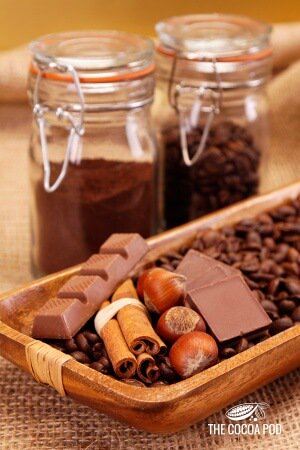
First, you need a range of chocolates starting with a low percent chocolate up to a high percent. You will see chocolates of varying per cents such as 55%, 60%, 70%, and higher. Percent refers to the actual amount of cocoa solids and cocoa butter in a chocolate. So a 70% chocolate has 30% sugar, a 65% has 35% sugar; a 50% chocolate has 50% sugar. I suggest shopping online first, or going to a specialty gourmet market or store so that you can get some quality chocolate. Some brands to look for include Dandelion, Ritual, Fruition, Dick Taylor, among others. Skip the mass-market products for now and look for artisan, bean-to-bar chocolate brands.
 Choose The Right Chocolates
When purchasing, make sure your chocolate contains only real cocoa butter and no added fats. The only ingredients you should find on the label are cocoa mass or cocoa liquor (not actually a liquor, just an industry term), cocoa butter, sugar, lecithin, and maybe vanilla. Avoid chocolate with vanillin or artificial flavor vanilla in it at all costs! For the tasting, you will want chocolates without any added flavors or inclusions, just pure chocolate, so you can get to know the range of flavors possible in a chocolate bar.
Milk chocolates usually is usually a 35% chocolate or less, so that means at least 65% sugar! Because of its high sugar content, milk chocolates aren’t really going to help you appreciate the flavor nuances good chocolate can have. You also probably won’t find a milk chocolate with a percent even listed on it! But it’s good to have one bar as a reference point to start with.
Get Organized
To organize your tasting, start with the milk chocolate bars first, and then move up to by percent, finishing with the highest percent. I would recommend tasting a maximum of 5-7 chocolates-otherwise, your palate will be chocolated out!
You can do the tasting blind, hiding each of the chocolate brands and percent until after you are done tasting. This makes it more fun for the participants to try and guess which bar was which after the tasting.
To get organized, prepare as many plates as you have bars of chocolates, and if doing a blind tasting, label each plate underneath with a piece of tape and the chocolate brand. Prepare cups of water and a tray of unsalted crackers for each participant to use to cleanse the palate between each chocolate.
Break the chocolate into small pieces, about the size of a quarter or less.
To properly taste each piece, use the following guidelines:
You should observe several things when you taste any chocolate:
1. Visual – The chocolate should have a nice brown or mahogany sheen, and be clear of blemishes or a matte appearance on the surface. This is a sign of properly tempered chocolate.
2. Audible – The chocolate should have a crisp snap when you break the piece or bar. This is another sign of properly tempered chocolate, and the presence of real cocoa butter. The chocolate should not be soft and easy to break.
3. Smell – The chocolate should have a clean, chocolate and cocoa smell to it. No ‘off smells’ or rancid smells should be present.
4. Touch – when held in the palm of your hand, the chocolate should slowly melt and the melted chocolate should leave a clean, smooth feeling– not a greasy one.
Eat and Indulge!
When tasting chocolate, place a small piece in your mouth and let it melt slowly on the tongue. Try not to chew it, however tempting that may be! As it first melts, try and recognize any unique flavors. Once melted, move your tongue around your mouth to spread the chocolate. Some of the flavors you might find include citrus, nuts, dark or red berries, raisin, plum and others. Don’t be shy and write down what immediately comes to mind!
Finally, once the chocolate has completely melted and you have swallowed all of it, wait and try to describe any lingering aftertastes. Is it pleasant, unpleasant, long, or short? There are many ways to describe chocolate flavors, so just describe whatever you taste. There is no right or wrong here!
Holding a chocolate tasting party can be a great way to learn about chocolate, discover the wide range of flavors possible in different chocolate bars, and enjoy a great time with friends and family.
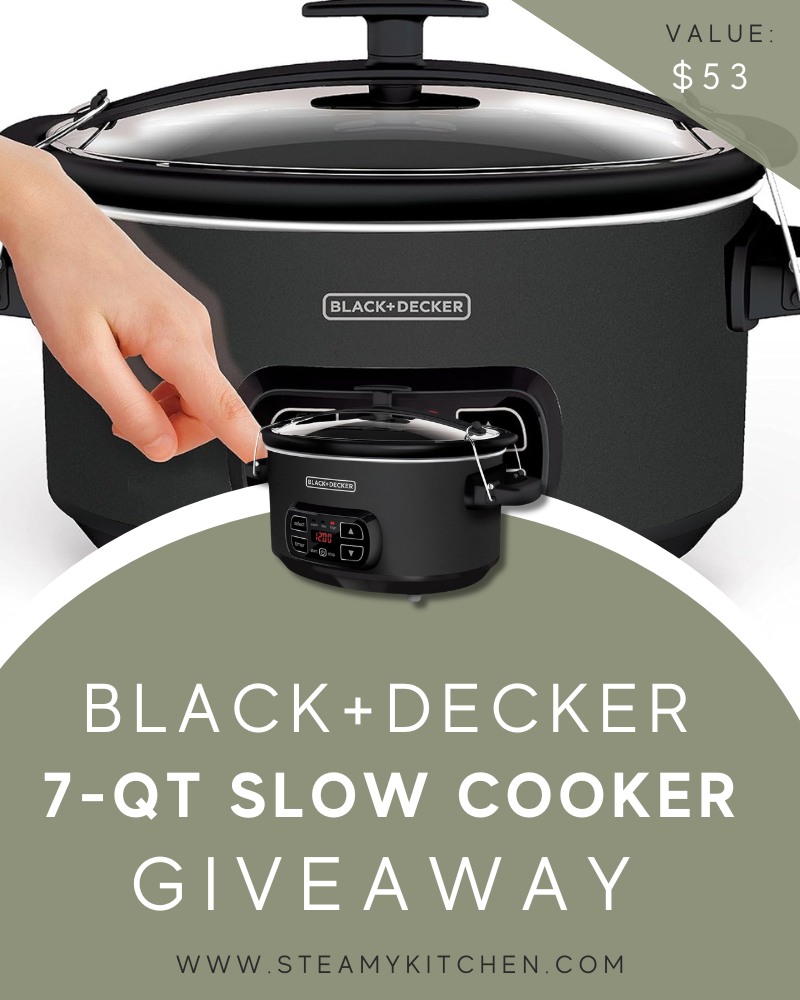
$75 Gift Certificate Givewaway