The Ultimate Guide To
Microwave Cooking
Microwave ovens have become an essential part of almost every single kitchen. It’s truly a brilliant appliance when used correctly and can do so much more than reheat your coffee for the fifth time in one day. Microwaves can be a super helpful, healthy, and quick cooking tool when used properly.
Dive into the Steamy Kitchen Ultimate Guide to Microwave cooking, where you will find our best microwave recipes, tips and freebies!
JUMP TO:
Download Your Free Veggie Microwave Cooking Cheat Sheet!
All Microwave Recipes
Microwave Recipes: Vegetables
Learn how to steam and cook vegetables perfectly in your microwave!
Microwave Recipes: Desserts
Want a fresh baked cake without turning on the oven? These recipes are for you!
MICROWAVE RECIPES – VEGGIES
MICROWAVE RECIPES – PROTEINS
MICROWAVE RECIPES – DESSERTS
TYPES OF MICROWAVE COOKING
Like we mentioned, your microwave can do so much more than heat up coffee and melt butter. There isn’t much you can’t cook in the microwave, but we have a few types of microwave ‘staples’ we always cook.
Steaming Vegetables:
There is no better way to cook vegetables than in your microwave. We opt for this version if cooking vegetables for a few reasons. It is the most energy efficient and quick cooking method you could possibly use. Not only does it retain the beautiful color of the vegetables, but it also holds onto so many more nutrients than if you were to roast them in the oven.
Jump to Cooking Vegetables in the Microwave Section for even more information.
Defrosting:
There definitely seems to be a bit of a division on defrosting food in the microwave or not. Some suggest it’s not healthy and can cause bacteria growth, while others (like us) know that if done properly, this is a great way to get a quick dinner on the table at the end of the day.
Jump to Defrosting in the Microwave Section for even more information.
Desserts in the Microwave:
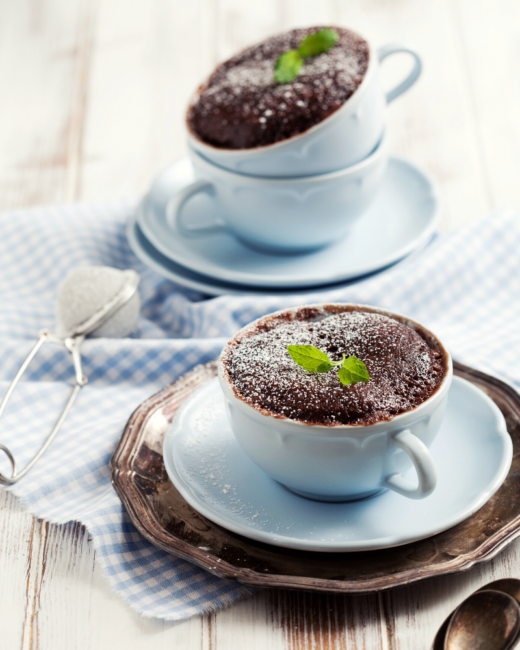
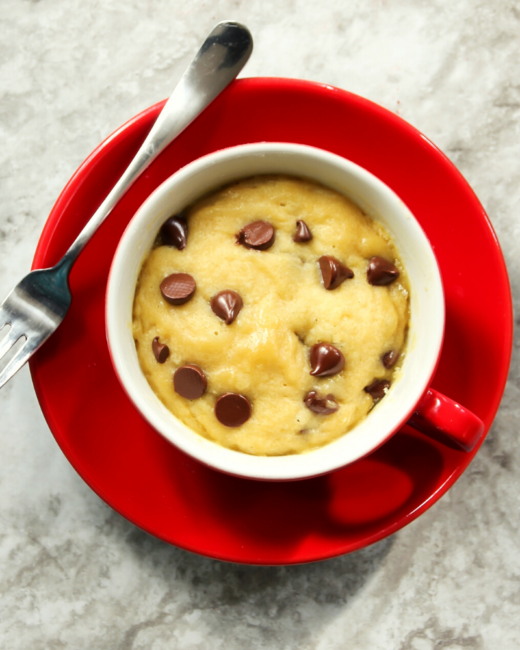
The one thing you should never pass up on is desserts in the microwave. Have a sweet tooth and only want a single position of a cake or just one cookie? Yeah, us too! Cooking desserts in the microwave are fast, easy, and use such a small amount of ingredients that nothing will get wasted. Did we mention you can have a rich chocolate brownie in your hand in 5 minutes?
Cooking Grains:
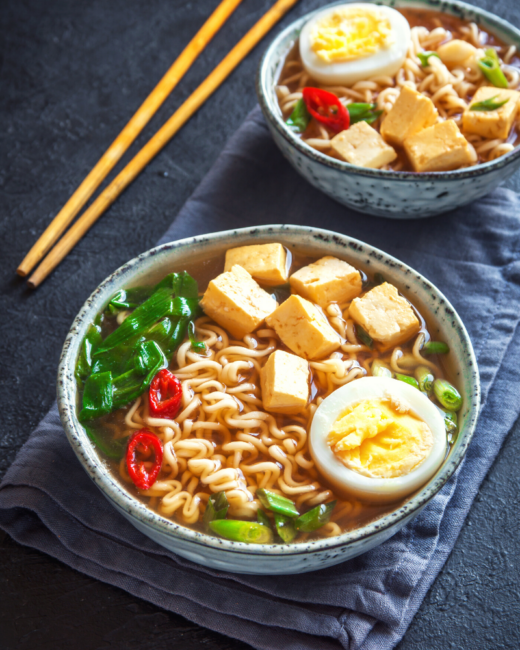
We all know cooking any type of grain can almost feel like a chore on the stove top. Well, we are here to tell you that it is no longer a chore and can be done in just minutes. You can achieve perfectly fluffy rice and quinoa, and tender noodles in no time. This is great to have in the fridge all week as a base for Buddha Bowls, Stir Frys, and Noodle Soups.
We like to think that learning how to use a microwave properly takes patience. Sounds silly because it should be so simple, and it can be so simple, if you know how to use it properly!
When your stomachs growling and you’re starving all you want to do is rip the microwave door open, grab your hot food and dive right in. We get it, it’s tempting! This is where some patience comes into play. Something to keep in mind is that microwaves heat from the outside in, and once the microwave timer beeps, the heat is going to continue to spread to the center of your food.
Practicing patience and allowing your food to stand, covered with foil for an additional 2 minutes will allow your food to finish heating through without drying out. For foods that are much denser, such as proteins, cover with foil for up to 10 minutes.
The other very important rule you must never forget is to cover your food!
Not only will this help avoid a disaster of splatters, but it will literally make your food taste that much better. Use a microwave safe cooking lid, like this Vented Collapsible Microwave Food Cover to help trap some steam, keep your food from drying out, and hold in moisture.
Something that has a few vents is ideal so we can let a little steam escape so no pressure builds up and causes an even bigger mess.
GET TO KNOW
Your Microwave
Microwaves have a hardy reputation for drying out food and leaving food cold in some spots and boiling in others. As long as you learn how to properly use your microwave you will be able to muster up some super delicious meals with this wizard of a machine.
We will dive a lot deeper into power levels and settings on microwaves, but mastering your power settings will make you so much more comfortable with microwave cooking than you ever were before.
There are a few simple things to keep in mind when it comes to power settings:
- Before you start cooking in the microwave, check the power setting! If you cook something on high power just to finish quicker, you will more than likely end up with dried out food with burnt pieces on the outside with a more than likely cold center.
- When it comes to ingredients that have a high water content such as soups, saucy beans, and even vegetables, using a high power setting will heat things quickly and evenly.
- Turn down your power setting to a medium, or 50% power, when heating up dense foods like chicken breast, ground meat, ready made freezer meals, and typically any leftovers. These all require slower cooking so the food items remain moist and enjoyable and no food gets wasted.
Get to know your microwave timings.
No microwave is created equal and there is a very big difference in how long microwaves can take to heat the same food up. This will all depend on the wattage of your microwave! The low end of microwaves sit at around 500 wattage while the higher power microwaves sit at around 1,100 wattage. Your microwave’s wattage will greatly impact how your food heats up if you aren’t familiar with it, so get comfortable with your power settings! Dare I say, read the manual?
Jump to the Understanding Power Settings section to learn about microwave wattage and how that can affect your microwave cook time.
When you’re in a hurry it is so tempting to want to pile your food high on a plate, pop it in the microwave and let it cook. It sounds great in theory, but it just means that the middle of your piled high food will still be cold while the top of it will be hot to the touch. This is because microwaves promote even cooking by warming up the outer layers of your food first, then taking that energy and warming up the middle. The heat from microwaves doesn’t have the ability to travel very far into your food, so in order to achieve even cooking, you have to lay your food out in an even layer.
Here’s what we always suggest:
Get a large microwave safe plate that has good surface area and arrange food in a circle around the edge of the plate to promote even cooking and avoid any cold spots. This means that the shape of the dish you decide to use for microwaving something will have an effect on what you’re cooking. Avoid putting your food in a rectangular or square dish and opt for something round or oval.
More surface area = even cooking.
Take advantage of your microwave’s settings.
It’s really tempting to just push the 30 second button a handful of times, but there are some great program options on microwaves that are great to use if you want to take the guesswork out of it all.
Auto Programs:
- Almost any modern microwave has a fabulous selection of auto programs that are built in and take the hard work out of microwave cooking. Just simply enter the weight of what you are putting in the microwave and it will set the recommended power level and time to cook your food. It’s actually pretty brilliant.
Multi-Step Programs:
- This isn’t a function that every microwave has, but if you have a rather new one, it’s one you should get comfortable with because it makes two step cooking that much easier. We love to use the multi-step program specifically for defrosting a frozen (already cooked) meal and then heating it up properly. It ensures that the food will not only defrost, but warm all the way through to the correct temperature.
Understanding Power Settings
It is incredibly easy to undercook and overcook food in the microwave. Unlike cooking on the stove, you aren’t able to continually see or touch your food to see if it is ready or not. The biggest roadblock to perfectly microwaved food is not understanding your power settings. For example, if the recipe you are following was tested with a 700 watt microwave, but yours is a 1,000 watt machine, you are going to end up with shriveled dried out food. So, familiarize yourself with your microwave’s power settings to make cooking any food in the microwave will be an easy task and even a joy!
First things first: Find your wattage! This should be located right on the inside or outside of the door. If you are unable to find it you can either look up your microwave model online or perform a wattage test with water.
Wattage test: Fill a microwave safe bowl with 1 cup of water. Microwave on high heat and see how long it takes to come to a boil. A good rule of thumb is:
1 1/2 minutes = 1,100 watts
2 minutes = 1,000 watts
2 1/2 minutes = 800 watts
3 minutes = 700 watts
4 minutes = 600 watts
So how do you cook food in your 1,000 watt microwave when the recipe uses an 800 or 600 watt machine?
It’s actually really easy and requires a bit of math by moving the decimal over two places. So, you would set your microwave power to 80%, 60%, and so on. If your microwave is a 1,100 watt machine and the recipe you’re following uses an 800 watt machine, the math can be a little trickier. You would have to round down and set your power to 70%.
Keep in mind that adjusting the percentage level doesn’t change your wattage. This just means that your microwave will pulse off and on at its fixed wattage until the selected level is reached.
Now that we’ve cracked that code, cooking anything in your microwave will be simple.
Now you can treat your microwave like a stove or oven.
KEEP IT SAFE – MICROWAVE SAFE DISHES
Do you ever ask yourself, can this dish go in the microwave? Will this explode? Will that cause a fire? Yeah, we used to question it too. Despite the popularity of microwave cooking and the convenience of it, it still seems like no one is quite sure what can and can’t go inside of it. Let’s break it down now.
Read what can go in the microwave below!
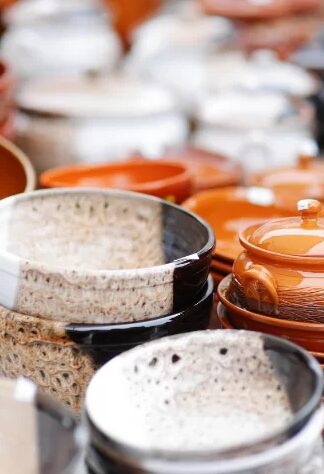
Glass and Ceramic
are almost always safe in the microwave. The few exceptions are if its crystal, homemade pottery, or has any metallic paint.
Reusable Silicone Bags
are great for microwave usage. They don’t leech any toxic chemicals, unlike plastic and they don’t melt! Not to mention they help our environment.
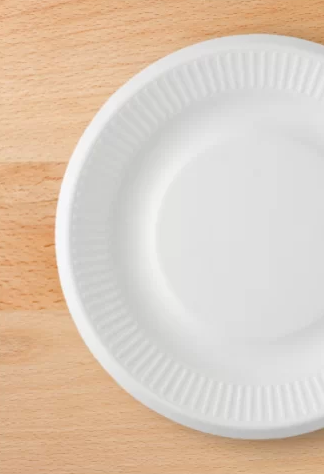
Paper Plates are safe
Sometimes they are coated in a thin layer of plastic, so just be mindful of that and make sure it is clearly marked microwave safe.
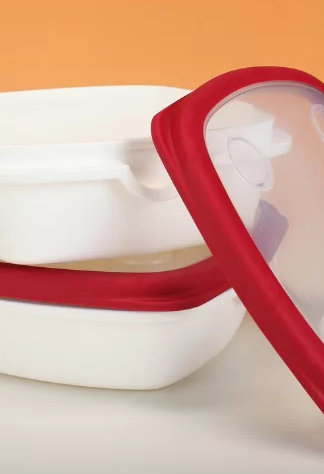
Plastics
THINGS TO KEEP OUT OF YOUR MICROWAVE
Quick Safety Tip: If you aren’t sure if a dish is microwave safe or not, there is a way to test it! Add one cup of water to the dish you are testing and place it in the microwave and then cook at 100% power for one minute. If the water gets hot and the dish remains cool, it’s safe to use. If the dish becomes hot, it likely contains metal and should not be used in the microwave.
Read what can’t go in the microwave below!
Styrofoam
is a material that someone might tell you it’s OK to put in the microwave if nothing is boiling, but we say no way! The risk of the material melting is high from how hot the contents can get while microwaving. Not to mention it’s awful for the environment and there are harsh chemicals that leach into your food while cooking.
Metal and stainless steel
are things that should never ever go inside of your microwave. Metal and steel surfaces reflect the microwave and that increases the heat inside and easily leads to a fire. That’s why storing your food in glass is the best option because you can take it from your fridge right to the microwave.
Cardboard
might be something you think is safe, but they are lined with plastics, glue, and wax that can make it a huge safety hazard. If it’s a cardboard takeout container, it often has metal pieces to close it that will spark a fire in your microwave. Remove the food from your takeout container and heat it on a plate.
Aluminum foil
reflects the microwave just like metal and steel and really should be avoided if possible. Technically if your foil is as flat as possible with no wrinkles it should be fine, but if there are any creases or wrinkles in the fire, it could cause electric sparks and cause a fire. So, when in doubt, avoid placing any aluminum foil in your microwave.
Microwave Tools
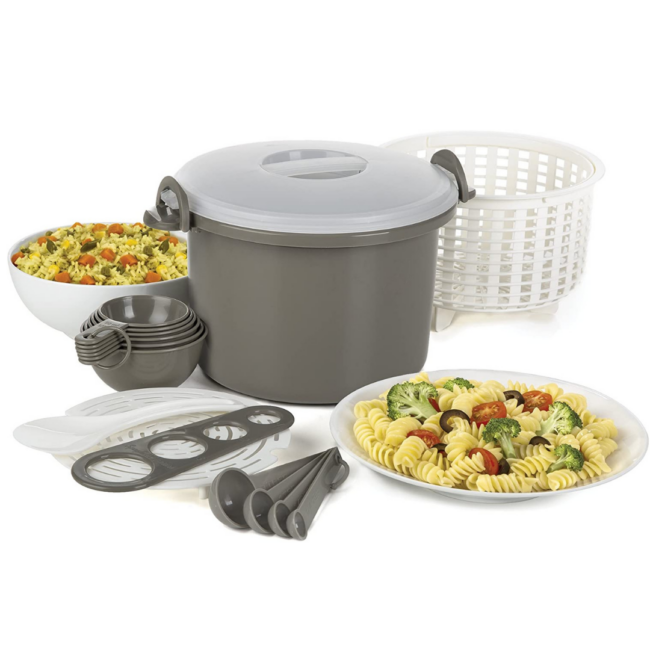
Pasta & Rice Cooker

Microwave Egg Boiler

Vegetable Steamer

Silicone Mitts

Brownie Baking Dish
Cooking and Defrosting
Cooking vegetables in the microwave is a rapid and safe cooking method which preserves the most nutrients due to its quick cooking time. Since you are cooking for a shorter period of time and in such little liquid, all of the vegetables you cook will retain their nutrients, their color, and their crunch.
Microwaving vegetables is an easy way to add more color to your plate and more vegetables into your diet with minimal effort.
Steamy Kitchen’s Best Tips for Cooking Vegetables in the Microwave:
- Cook in a single layer. Whatever you do, don’t pile your vegetable shigh on top of eachother. Use a wide enough microwave safe plate or bowl and place things in a single layer then pour your liquid over it before cooking it in the microwave.
- Speaking of liquid, most microwave steamed vegetable recipes call for water, but truthfully you can use just about any liquid in place of water to add flavor. We love using broth in just about any vegetable and we know this may sound weird, but in our Steamed Carrots recipe, we love using apple juice with a splash of brandy to make them extra sweet before we toss them in butter. Don’t say we didn’t warn you how addicting they are!
- If a microwave steamed vegetable recipe calls for a specific time and it’s not your preferred tenderness at that time, pop it back in the microwave and cook it in 30 second to 1 minute intervals until it has reached your perfect tenderness.
Best Tips for Defrosting in the Microwave
We’ve drilled it into your head a ton already, but please don’t forget, microwaves produce a wide range of power depending on their wattage. Thawing times may be longer than the ones listed below. When you use a low power setting, it will allow the food to warm gradually and evenly without actually cooking the food.
A few things to keep in mind before you start defrosting your food:
- Avoid using the microwave to defrost light items such as fish, shrimp, or any cut of meat thinner than one inch. This also goes for small frozen vegetables. Instead of popping it in the microwave, place the items in a colander and run them under cold water until thawed.
- Always thaw food removed from its packaging, on a microwave-safe plate or bowl.
- Don’t skip the flipping. Microwaves have difficulty thawing evenly when they are at a lower power level. So, flip food and reposition it to help get an even thaw.
- When defrosting raw meat, you want it to thaw, but still cold all the way through. You want to avoid cooking parts of it in the microwave. If only a small section is slightly frozen or icy, stop microwaving it and begin cooking it as you typically would.
- If your frozen meat is 2 or more pounds, avoid defrosting in the microwave as this will likely cause some sections to start cooking while the remaining meat is frozen solid. For meat that large, thaw out on a plate in the fridge.
- There is one exception to all of this. For anything with a high liquid content such as, soups, brothy foods, and anything with a higher water content, you want these entirely hot, even boiling, all the way through. Stir as needed to get an even, hot cook.
- Once you have defrosted a packaged food item, you must cook it within that same day and do not refreeze any raw food item after defrosting it.
- Always make sure you are defrosting in a microwave safe vessel!
Defrosting in the Microwave Guide:
It’s really tempting to just push the 30 second button a handful of times, but there are some great program options on microwaves that are great to use if you want to take the guesswork out of it all.
Ground Meats:
- Microwave at 50% power for 2 minutes. Remove any thawed pieces that come off easily. Once a portion of the meat is removed Microwave at 30% power for 1 minute for every 1/2 pound. *Check and remove any thawed parts every 30 seconds
Boneless Chicken:
- Microwave at 30% power for 2 minutes. Separate any pieces and then flip the chicken over. Bump power down to 20% and microwave 1 minute per ½ pound. *Check and flip every minute until thawed
Bone-In Chicken:
- Microwave at 50% power for 2 minutes and then separate any pieces that were together and flip them all over. Then, bump your power down to 30% and microwave for 1 minute per 1.5 pounds. *Check and flip every minute until thawed
Boneless Pork Chops or Steaks:
- Microwave at 40% power for 2 minutes. Separate any pieces and then flip the meat over. Bump power down to 30% and microwave 1 minute per ½ pound. *Check and flip every minute until thawed
Bone-In Pork Chops or Steaks:
- Microwave at 50% power for 2 minutes and then separate any pieces that were together and flip them all over. Then, bump your power down to 30% and microwave for 1 minute per one pounds. *Check and flip every minute until thawed
Frozen Cauliflower, Broccoli, Brussels Sprouts:
- Microwave at 50% power for 2 minutes and then separate the pieces as best as you can. Continue microwaving at 50% power for ⅕ minutes per every 5 ounces of vegetables. *Check and stir every ⅕ minutes.
Broth, by the quart:
- Begin by running the sealed container under hot water to release it enough to place into a microwave safe vessel. Microwave on 100% power for 3 minutes and then give it a stir. Continue microwaving for an additional 3 minutes, stirring every minute.
Thick soup, such as soup with dairy or coconut milk, by the quart:
- Begin by running the sealed container under hot water to release it enough to place into a microwave safe vessel. Microwave on 50% power for 2 minutes and then give it a stir. Continue microwaving on 100% power for an additional 3 minutes, stirring every minute.
Stews, by the quart:
- Begin by running the sealed container under hot water to release it enough to place into a microwave safe vessel. Microwave on 100% power for 5 minutes and then give it a stir. Continue microwaving on 100% power for an additional 3 minutes, stirring every minute.
Clean a Microwave
What You’ll Need:
– Microwave, of course
– Microwave safe bowl of large Pyrex measuring cup
– ½ cup distilled white vinegar or 1 lemon sliced
– 1 cup water
– Clean kitchen towels or paper towels
Add water to a microwave safe bowl or pyrex measuring cup. Pour in ½ cup vinegar or 1 whole lemon sliced.
Place it into the microwave and microwave on high for 5 minutes. Once the 5 minutes are up, leave it in the microwave for an additional 5 minutes, without opening the door. This will help create steam and get all of that gunk off the walls and door by loosening it.
After 5 minutes, remove the bowl and use a clean towel or paper towels to wipe down your microwave. It should come off easily. Then wipe out once more with a wet towel to get any last bits off. This is done quickly and your microwave will be shiny and smell good.

